
Good idea? Bad idea? You decide.
Yesterday afternoon, while perusing the hardware drawers at Home Depot for magnetic latches to fix Milo and Oliver’s play kitchen door, I came across rolling casters quite by accident. I picked up a package containing four, and was suddenly transported back to Smith Elementary School gym class, where one of my favorite things to do on a rainy school day was to scoot on a square-shaped board with wheels until I either ran over my own fingers or crashed into someone else, causing some sort of bodily harm. And suddenly, it became my mission to recreate this painful memory for my own boys.
Torture Devices Needed:
- two packs rolling casters (sets of four)- preferably ones with rubber wheels (we learned that the plastic ones can scratch wooden floors)
- two 1×17 3/4 laminated pine rounds (found in the lumber section)
- 32 wood screws
- drill
- rope or twine
- scissors
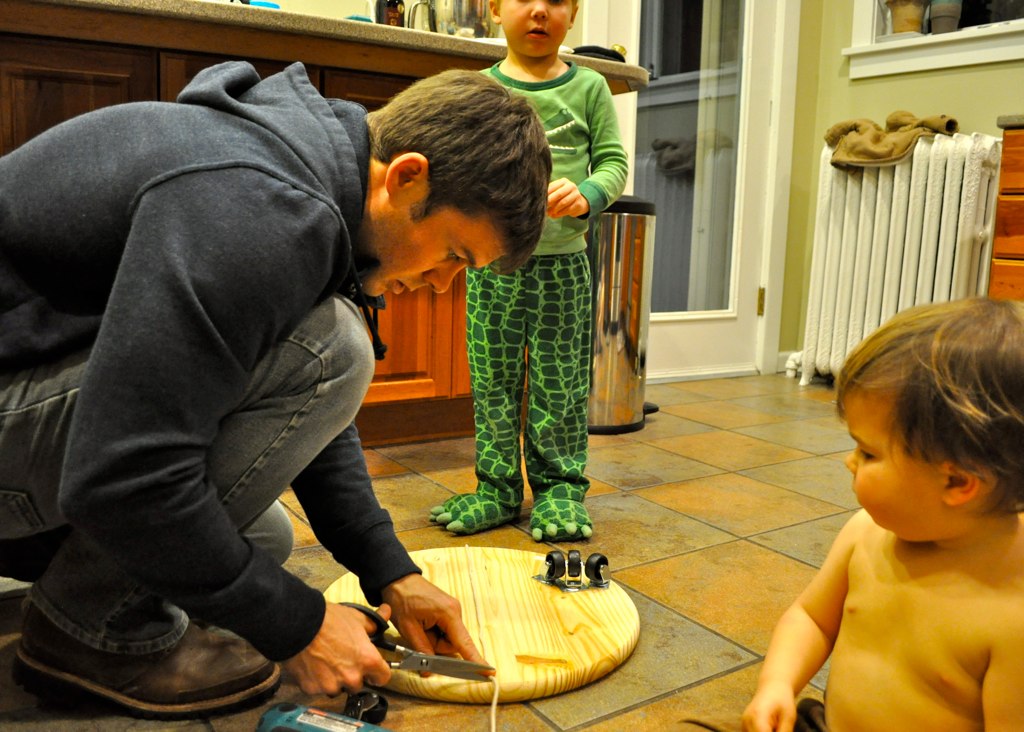
Step 1: Convince unsuspecting spouse how much more fun it would be to “help” build a couple of scoot-alongs than to hold the baby.
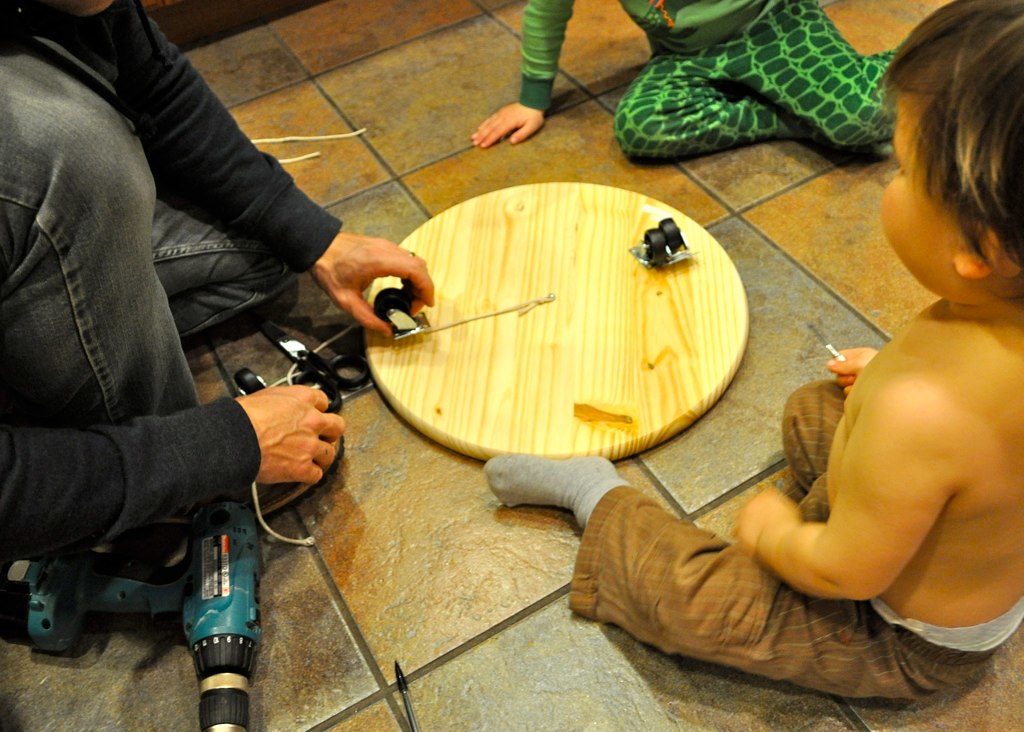
Step 2: Measure out a length of rope to span the diameter of the pine round and cut to size.
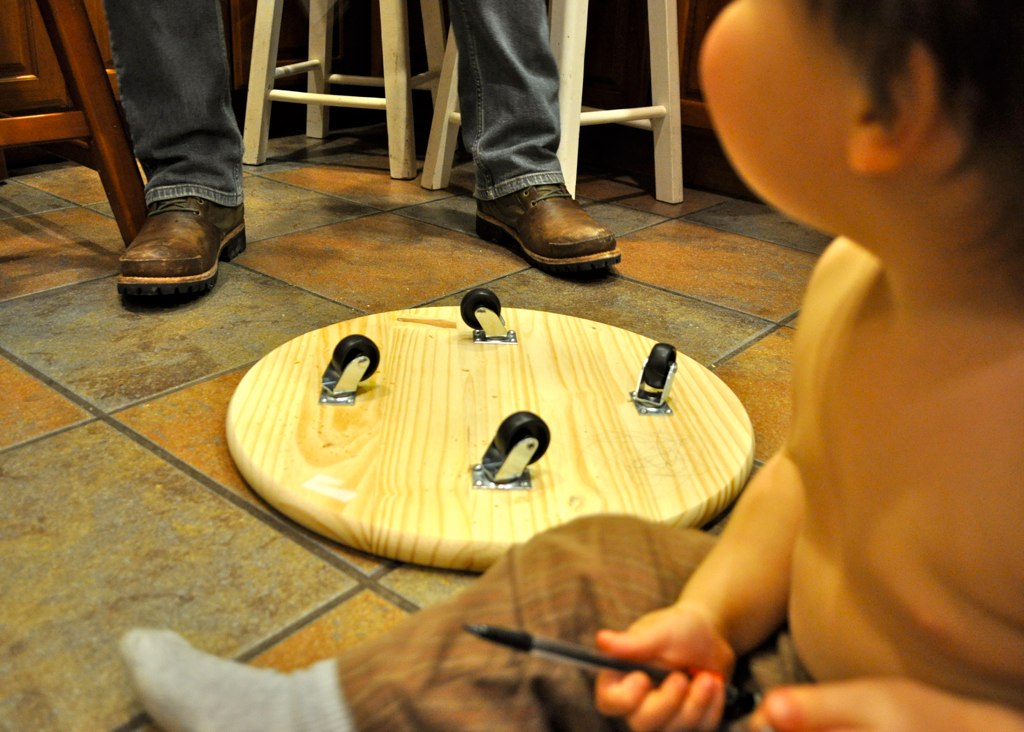
 Step 3: Finding the center of the round, drill 1 wood screw just enough to hold the rope. Placing the center of the rope around the screw, you will now be able to place each caster at equal distances from the edge of the round.

Step 4: You can either cut the rope again to the exact length you want to place the casters or you could mark the rope with a marker. Up to you.
Just make sure you place the casters far enough away from the edge that little boys’ fingers won’t get pinched when they hold onto the sides of the round, but not so far in that the round will tip over easily. We eyeballed it.
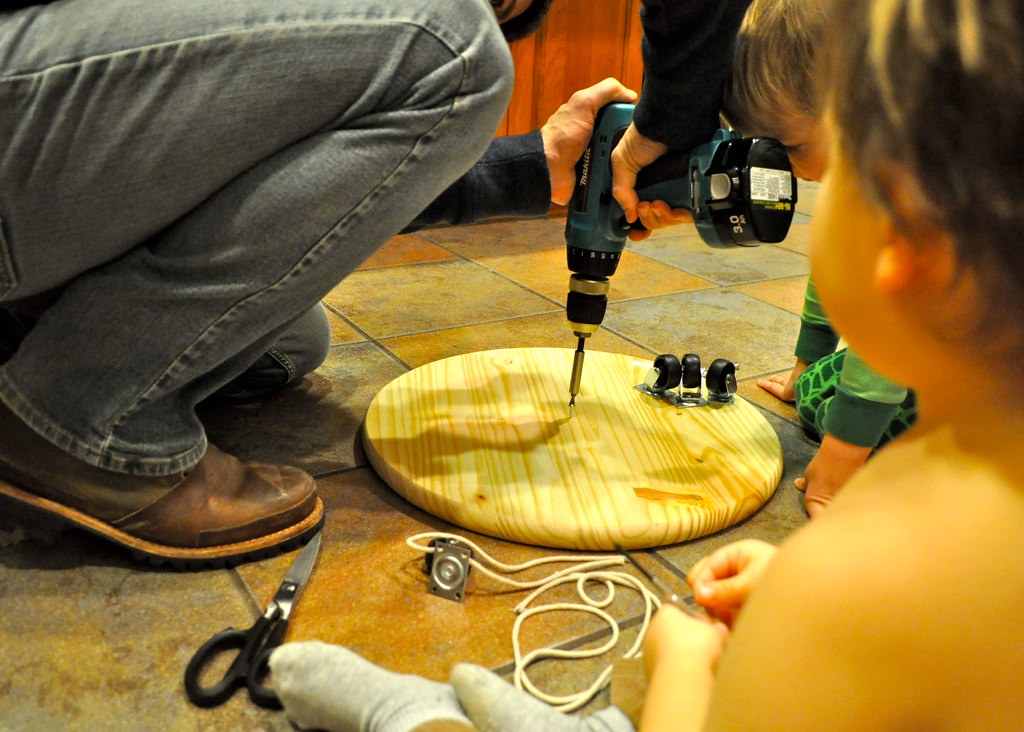
Step 5: Place first caster in position and using a small-guage drill bit, carefully drill shallow holes in each of the four openings on the base of the caster to make screwing it in easier.

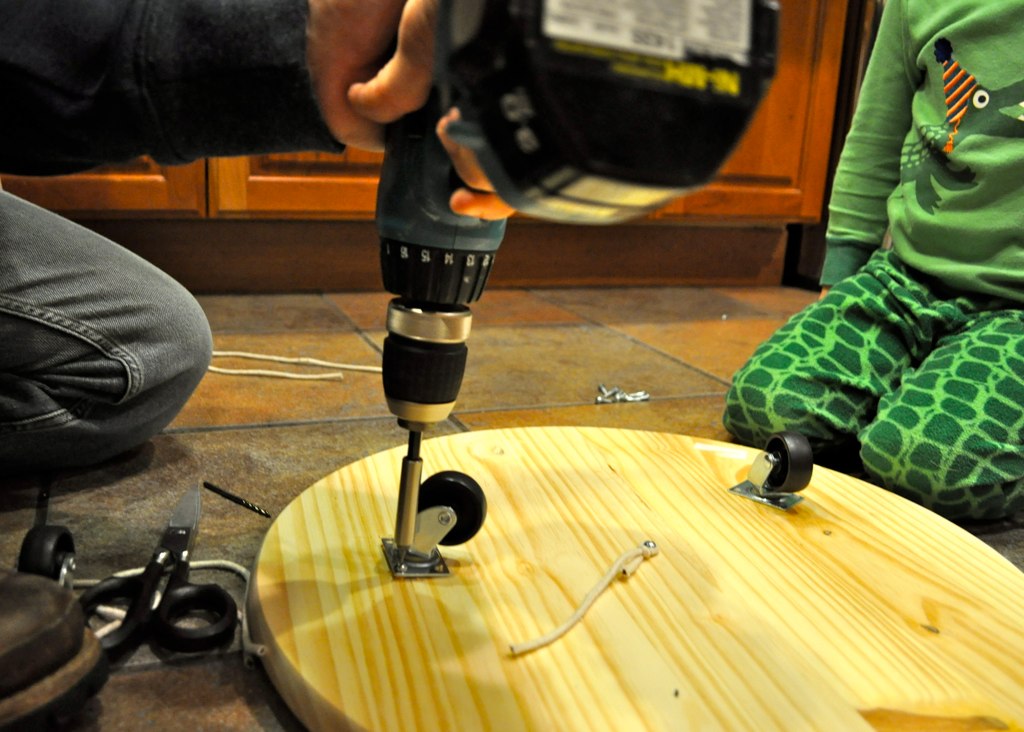
Step 6: Drill each wood screw into the base of the caster, alternating diagonally and being careful not to over-tighten.
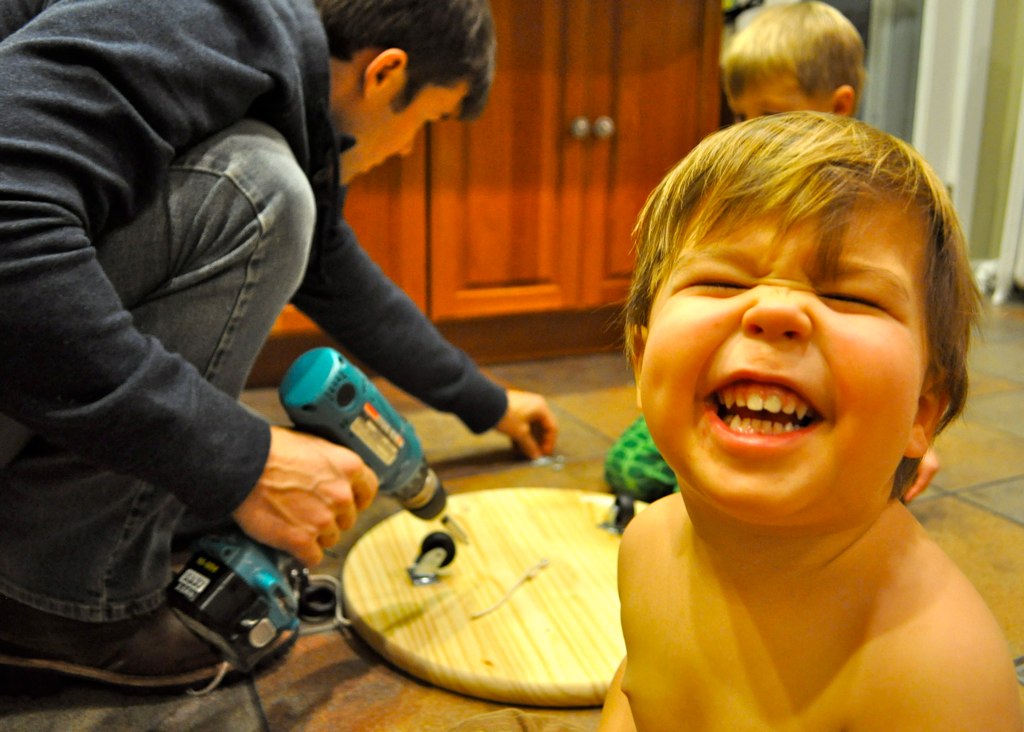
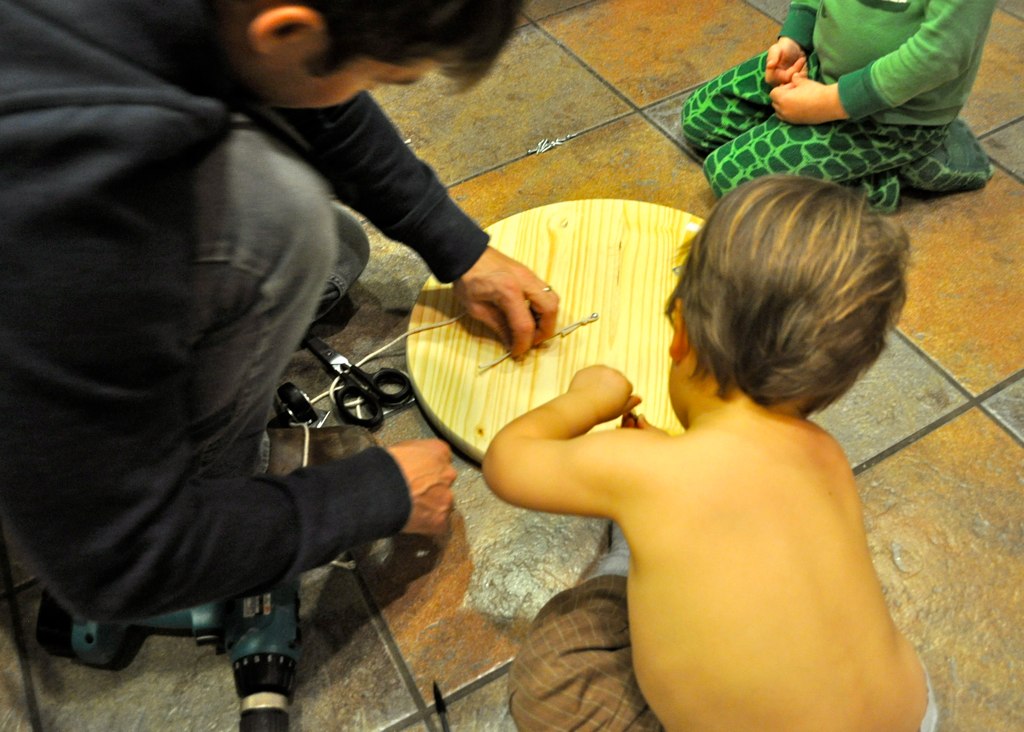
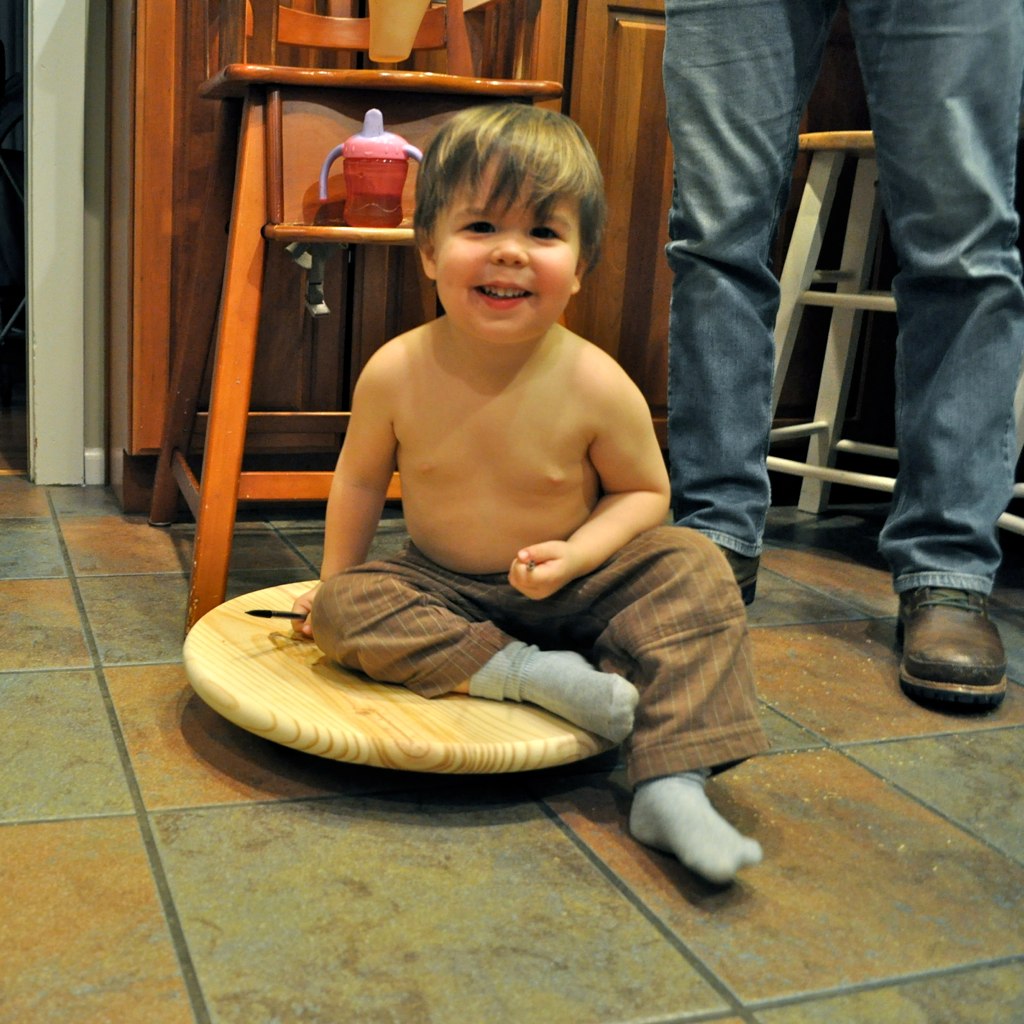
Step 7: Show as much gratitude as possible toward the ones who are providing you with this invaluable teaching moment.
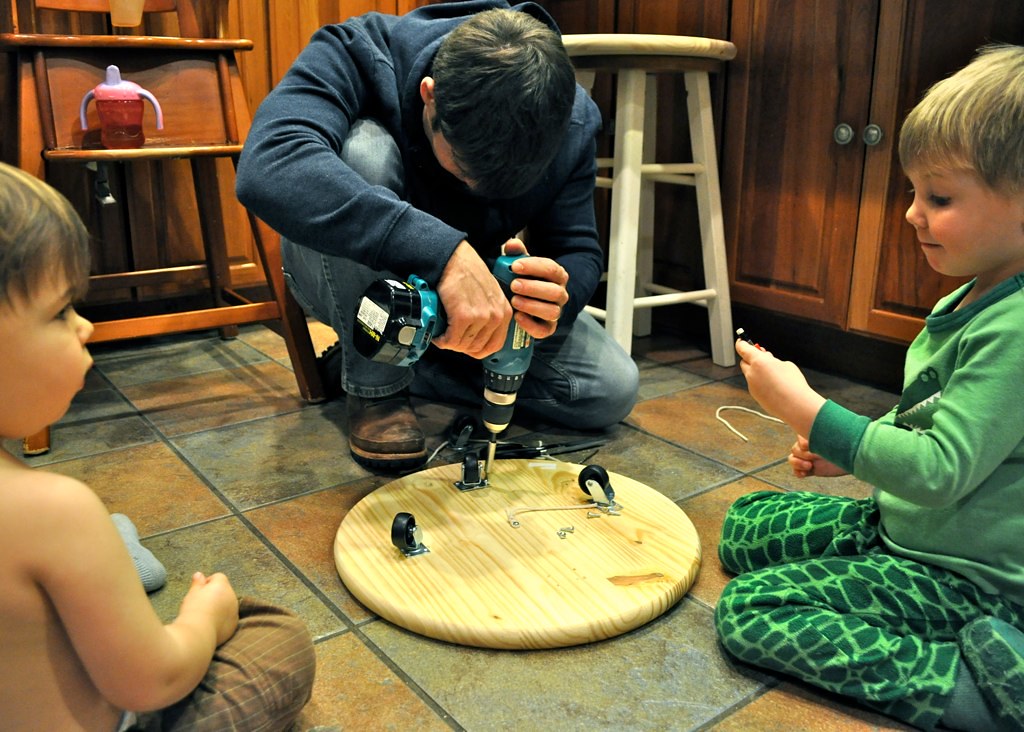
Step 8: Repeat step 6 with each caster, placing them at 12 o’clock, 3 o’clock, 6 o’clock, and 9 o’clock on the round.
Step 9: Unscrew the middle screw. You will need it for the second scoot-along!
Step 10: Do it all over again so brother #1 doesn’t get jealous of brother #2’s cool new ride-on toy.
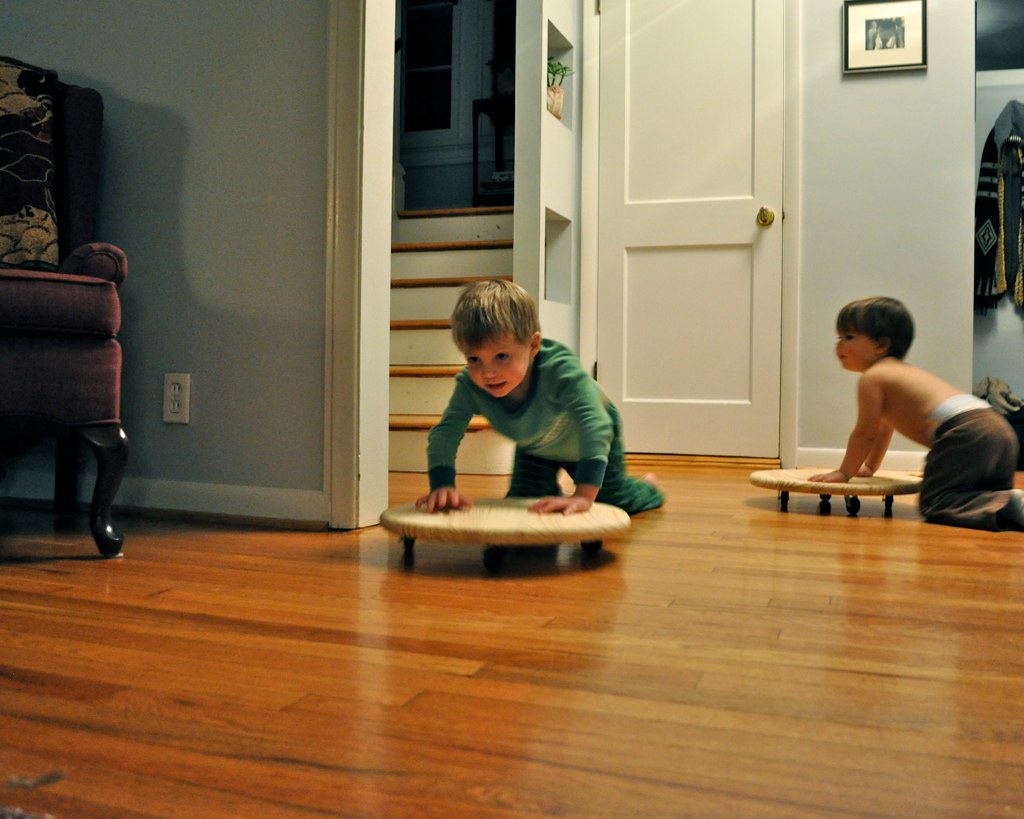
Once you have finished, simply flip scoot-along over, and go!
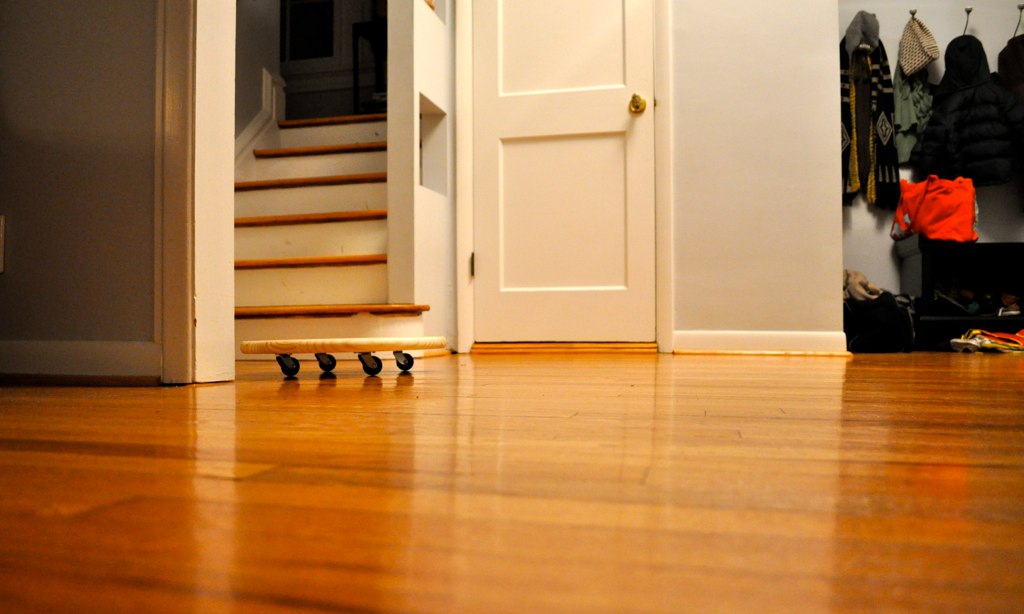
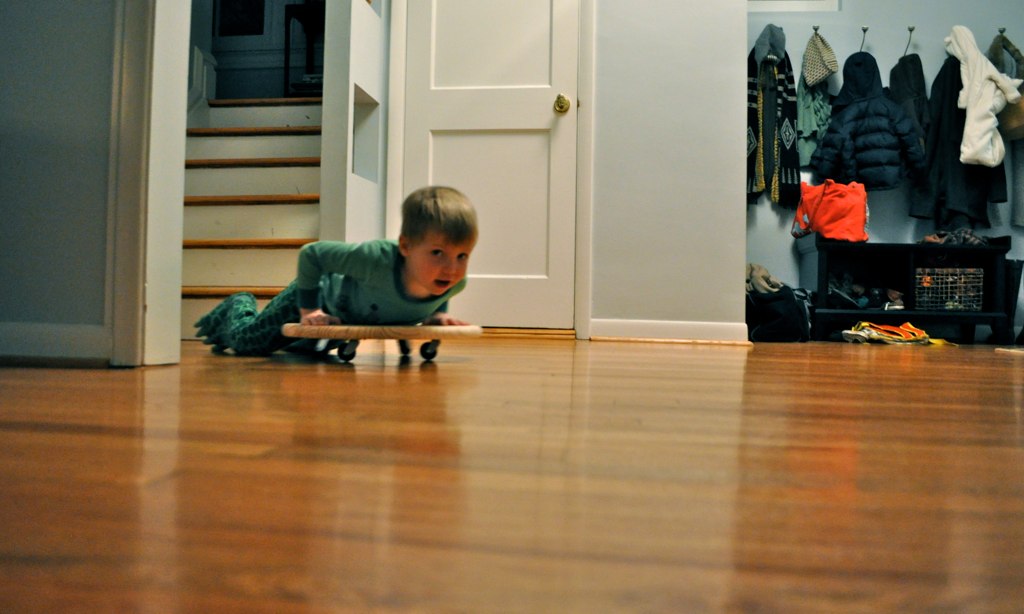
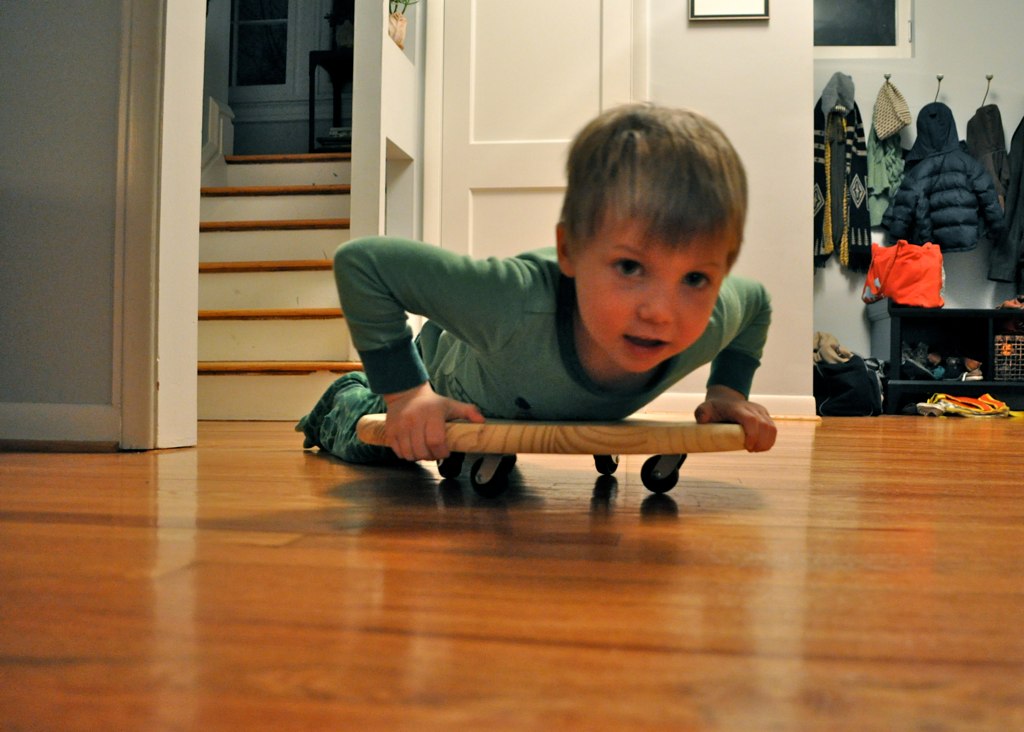
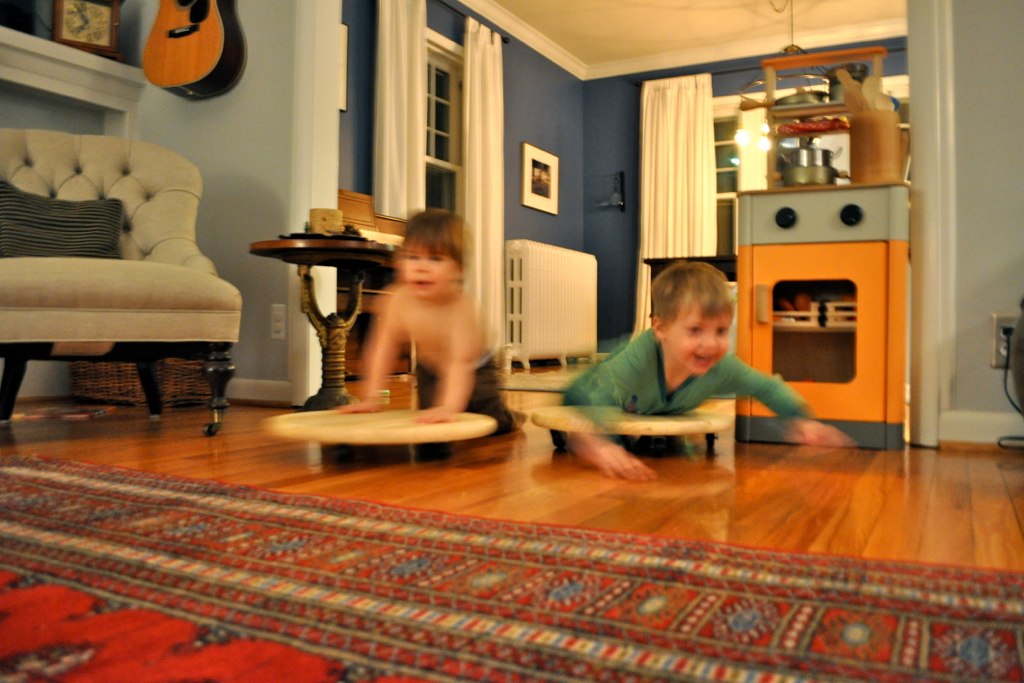
… and go….
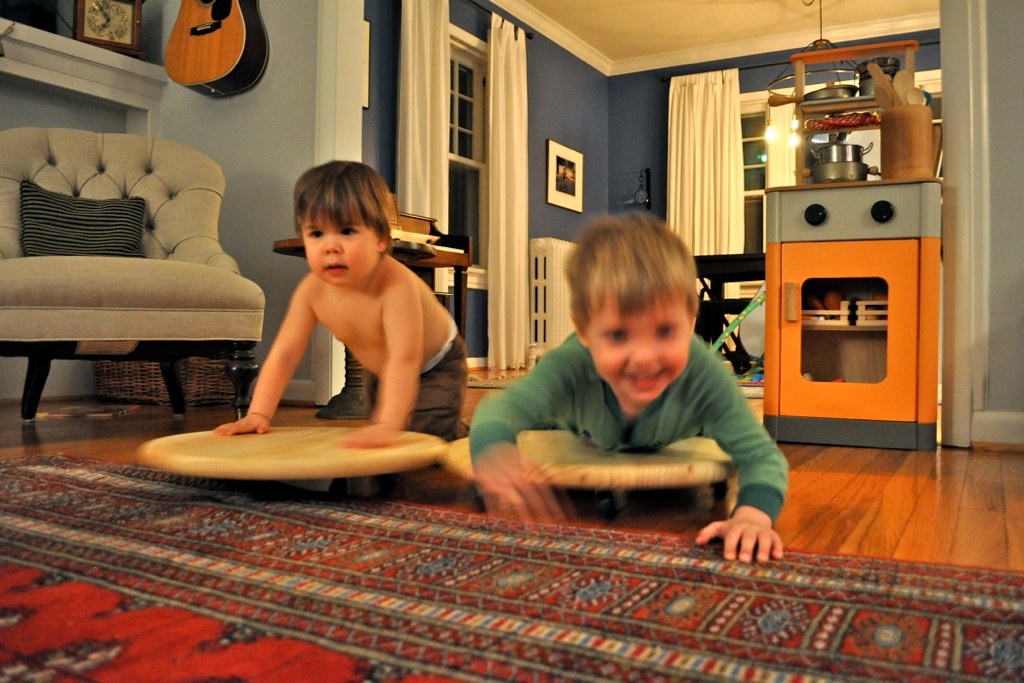
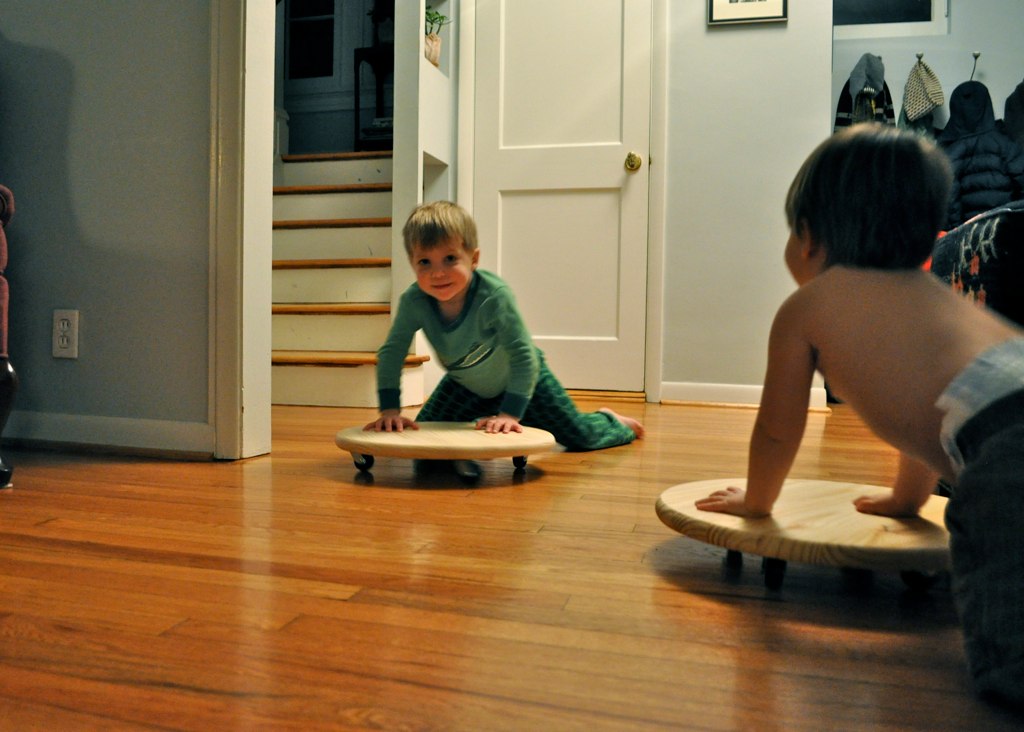
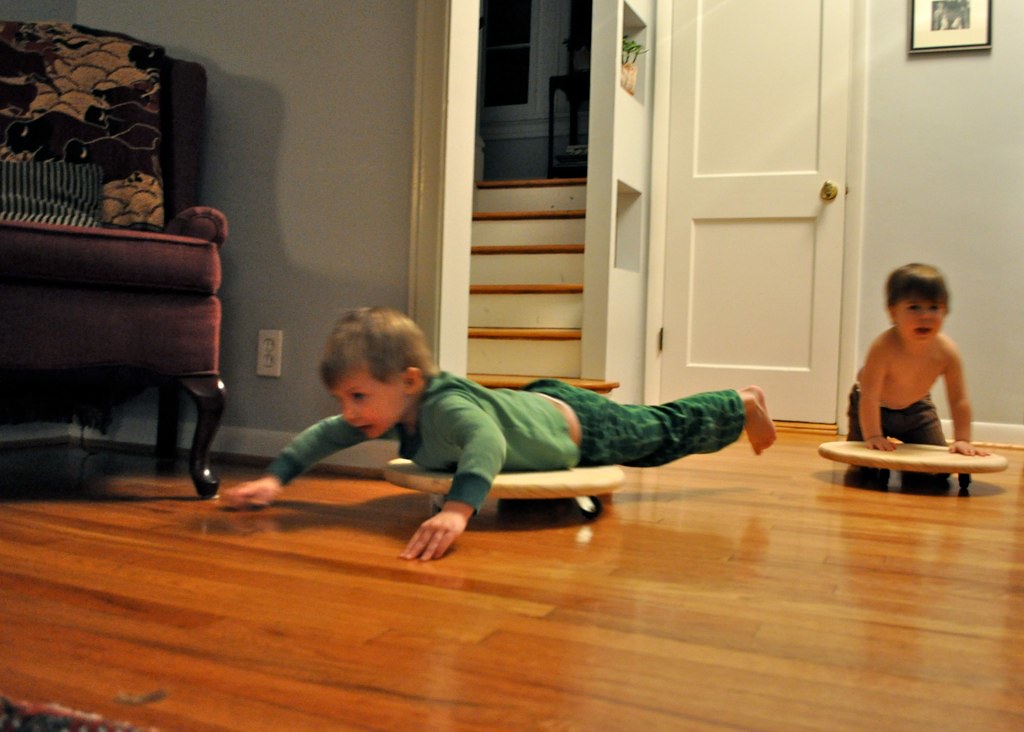
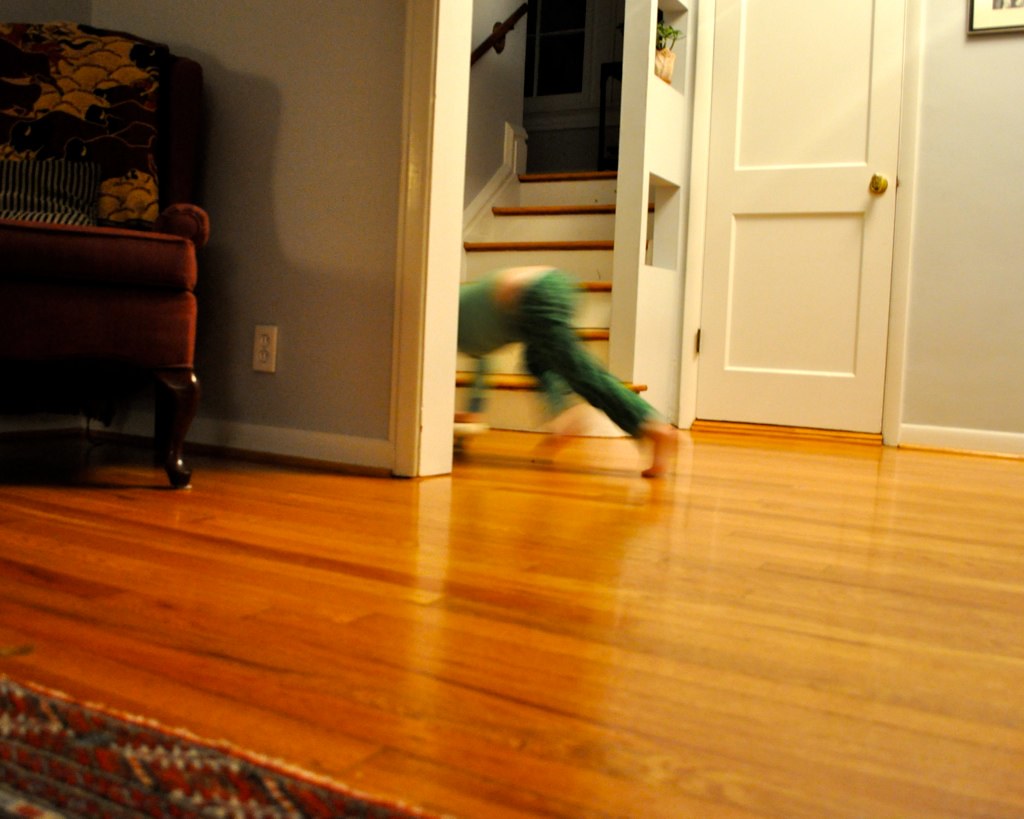
… and GO!
Hope you have a fantastic weekend! We are not doing much since Andrew has to work, work, work all weekend long. But I am planning to make a big pot of my favorite crock-pot beef stew tomorrow. Look for the recipe in a couple of days!
I’m sure that by Andrew having to “work” this weekend, you surely mean he has to go to Panera and drink coffee, or maybe grade 15 papers, or even worse, contemplate how his lesson plan for both days next quarter.
Man, your boys are adorable. And they sure do look happy scootin around the house. Great idea!
This is genius! I used to *love* these at gym time, too.
I love this idea! It looks like they had so much fun and I love the pics of the boys “helping out dad”.
Oh my goodness, what an AMAZING idea! Especially for little boys! 🙂
I’m still giggling! That little cheeky grin, oh boys are such fun!
Happy scooting!
happiness…
dannelle@nestenterprises
Good idea!
What a fun idea! Your boys are adorable. Glad you stumbled upon my blog, and glad to have found yours! 🙂
Guess who was scooting all over the house today??? GREAT project for Ben and Jamie to tackle together…and of course they made one for Greta too. Thanks for the idea!
Yay, Mary! I’m so glad you guys did this for Ben and Greta. We have been having a lot of fun with them- hopefully you guys used rubber wheels, because we did scratch the floors a bit. Oh, well. Just the cost of fun!
Oh man, that looks like fun! A cheaper (creative) alternative to the wheely bug toy eh? Very cool idea. We too love putting casters on all kinds of things for the boys. Rolling ANYTHING always comes in handy. Especially with hard wood floors.
Cute!
I remember those, too! To add to the likelihood of injury, our gym teacher provided short, stubby (and thankfully foamy) hockey sticks and a tennis ball. 🙂
Definitely my favorite thing about Mr. Whiteside’s gym class. The parachute was awesome too!
I’ve had so much fun this gray morning browsing through your beautiful blog; what a lovely glimpse into your family’s life! I love trying to figure out the bits and pieces. Arch: Okay, St. Louis. Writing grants: hmmmm…drums fingers….thinking….scientist (I default to what I know!)? Professor? Beautiful cozy house, sweet life with sweet boys.
I finally had to comment on this post because those scooters! My favorite part of elementary school PE! I think you guys are quite brilliant! Way to go, momma.
Let your husband know he did it for the greater good. It is a fabulous idea and tutorial.
Love, love, love it!!!
I even mentioned it over at my blog:
http://controllingcraziness.blogspot.com/2012/04/inspiration-for-weekend-14-scooter.html
I love this idea! I just linked to it on my own blog. Happy summer!
I was wondering, how much did the materials to make these cost? I am wanting to some for my kids but am wondering if buying is cheaper.
I love your blog!! Plus…crumb-bum is one of my all-time favorite words. 🙂
Our 3 year old daughter wants a scooter board for Christmas and I had the same idea. I even found the exact same boards at Home Depot, but then got nervous that the Home Depot “rounds” would not hold up. They seem to be just wood glued together. Just wondering if yours have held up to rough and tumble kid-play?
Julie
Julie, the boards held up great… until my boys left them out in the rain, then they warped and had to be tossed. I’m sorry it took me so long to respond to your comment! It somehow got rerouted to the spam folder until now! Hope you and your family had a very merry Christmas!
Lauren
I was wondering about cost. I know you made them awhile back but do you remember how much each cost to make?
Leah, I think it was about $40 for all the materials to build two.
hi. great idea. is there an official name for these things? can i find others made similar by doing a search for what they may be called? I cant seem to find anything, except what you illustrate here… thanks for any help.
Carl, if you google search “floor scooter” or “gym scooter” you will find many plastic options!
Thanks so much for the idea! My husband and I have 2 boys who love Pokemon and we painted the two scoot a longs to look like pokeballs. Will be a great Chriatmas gift!
Oh my goodness! I can’t get over the picture with Step #7… Your younger son’s little cheesy face smile is priceless!! Now your project I definitely want to try… Thank u for that!
Thank you thank you thank you!
I already spend a bunch on my friend’s baby – and I’m unemployed and driving uber meanwhile. Well I was with the 14 month girl today and saw her delight at sitting on a toddler style radio flyer scooter. She couldn’t do much more than sit on it and wiggle back and forth – but she was gleeful.
I find her parents sometimes shoot for toys that are way past her age (this baby already has a two wheel bike she can’t sit on.) So – I seem t jump in and slide in the stuff she can use this month (etc.)
I was googling toys when I found this – and I should really Not be spending 70+ on something from Walmart or ToysRUs –
I can’t wait to paint on the top of it as well. I think I will make it a Ladybug! 🙂
Thanks!
Such a fun tutorial. I think my favorite part is that you can use this as a teaching tool for time – 12 o’clock, 3 o’clock, 6 o’clock, 9 o’clock – if the kids are bit older. Your recollection of gym class is the same as mine and I also went to a “Smith School”. Thanks for sharing!
I will do this one with my kids according to this DIY tutorial.