
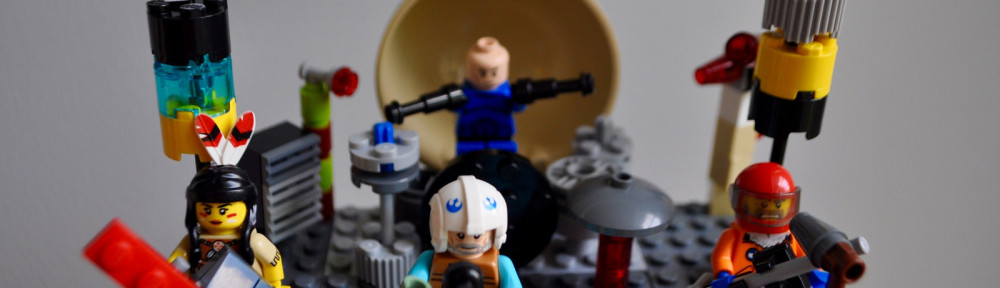
The day before Andrew left for Iceland, he and the boys created a Lego Band called The Nut House. The members: Johnny Cashew, Master P-Nut, Kenny Chestnut, Greg Almond. Runners-up: Gwen Pecan-y, A-Korn, and The Walnut Flowers. Your turn. Ready… GO!
Tag: Ingenius Ideas
DIY Fun: Painting Pots/Propagating Succulents
DIY Fun, by lauren, July 7, 2016, 1 Reply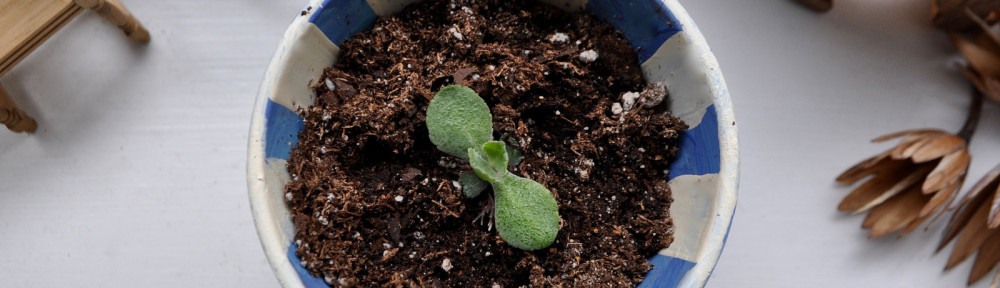
Last week we decided to paint pots on the back patio. The whole project only cost $20, given that we already had paint brushes and soil and the succulents we planned to plant in each little pot. I picked up the pots, saucers, and patio paints (paint specific for terra cotta pots) at Michael’s: six … Continue reading “DIY Fun: Painting Pots/Propagating Succulents”
Quiet Time & Classical Kids
Music, by lauren, June 14, 2016, 4 Replies
The parents of the children we drove home from school this school year recently dropped off the best thank-you gift: a collection of Classical Kids cd’s for our boys. I had never heard of this series, but it is awesome! On the first rainy day of summer, I popped the Tchaikovsky Discovers America cd and suddenly, all … Continue reading “Quiet Time & Classical Kids”
Trampoline + Sprinkler
Motherhood, by lauren, June 2, 2016, 7 Replies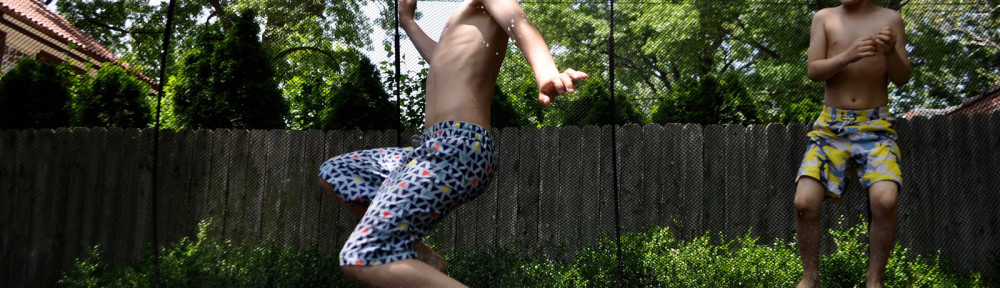
So far, summer break has been equal parts exhausting and loads of fun. Summertime is funny. One hour can be relaxing and heartwarming, all that family time and love and togetherness, while the next hour is full of screaming and crying and attempts to reason with/teach manners to a crazy wild beast. I love having … Continue reading “Trampoline + Sprinkler”
Reading…
Books, by lauren, May 24, 2016, 2 Replies
This is Not a Book, by Jean Jullien This is, indeed, a book. But it’s so much more than that! It’s a sturdy board book with few words; instead, each time a child turns a page, he finds a new imaginative take on the two-page spread. Emil, who is the most imaginative little guy, loves … Continue reading “Reading…”