
These guys love adventures. And while real fishing is definitely in our future, traveling to a pond or lake or river with three little men who think they can swim (but can’t) and handing them sharp little items to get stuck in lord-knows-where sounds like one of my worst nightmares, so for now, we will settle for magnetic fishing!
It is surprisingly easy, only slightly time-consuming (I did it a day in advance during one of their naps so that the glue on the eyeballs would have time to dry). Also, if you use what’s lying around your house like we did, it’s FREE!
Here’s what you’ll need: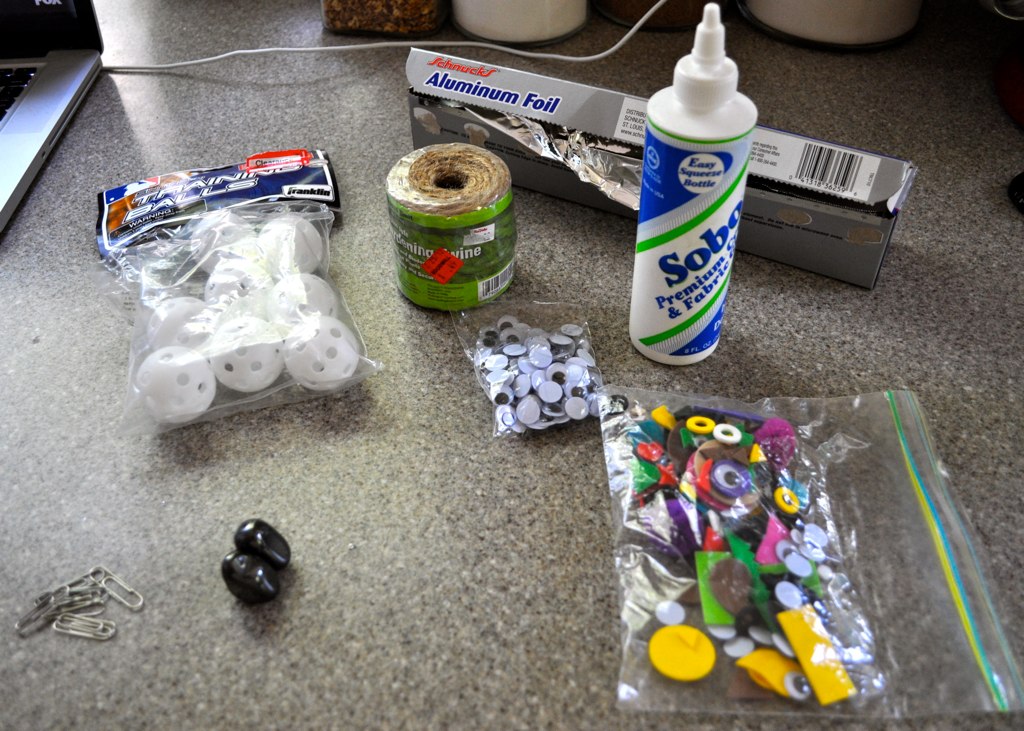
Supplies:
- 10 mini whiffle balls (we got these in the clearance bin at Target for $1)
- aluminum foil
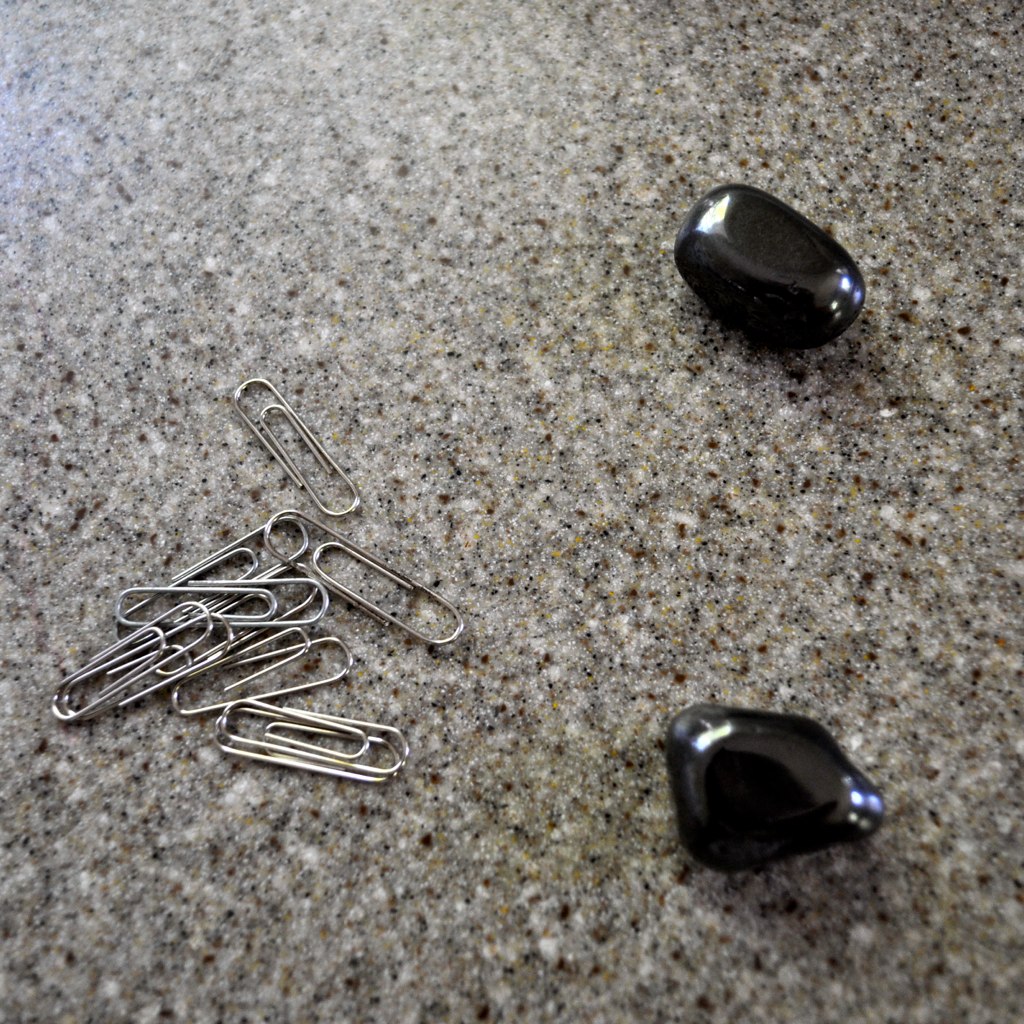
- 10 small paper clips
- glue
- 2 strong magnets (we had these magnetic rocks lying around for experiments)
- 20 mini eyeballs
- string (we used jute)
- two long sticks from your yard
- little foam scraps (for decorating your fish- completely optional)
- 1 rubber band, cut into two equal lengths

Step 1: Push a paper clip through two holes and twist to secure (this will be the fish’s mouth where the magnet will latch on).
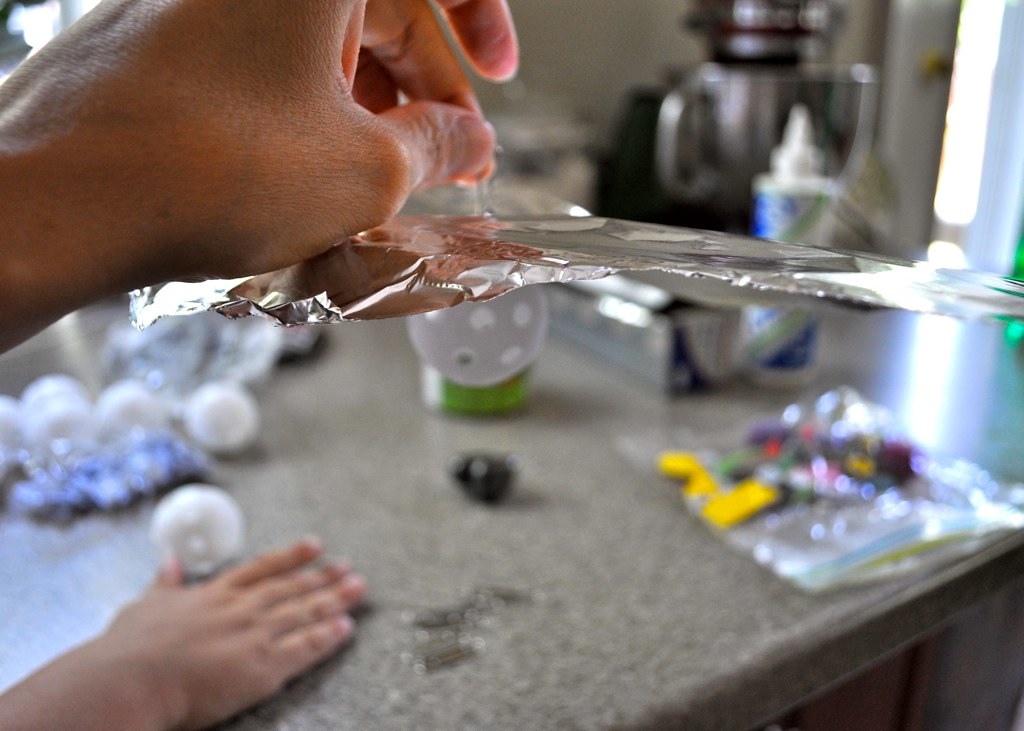
Step 2: Take a length of foil (about 6 inches seemed to be the right amount) and very gently poke the paper clip through the center of the piece (shiny side up if you want shiny fishes).
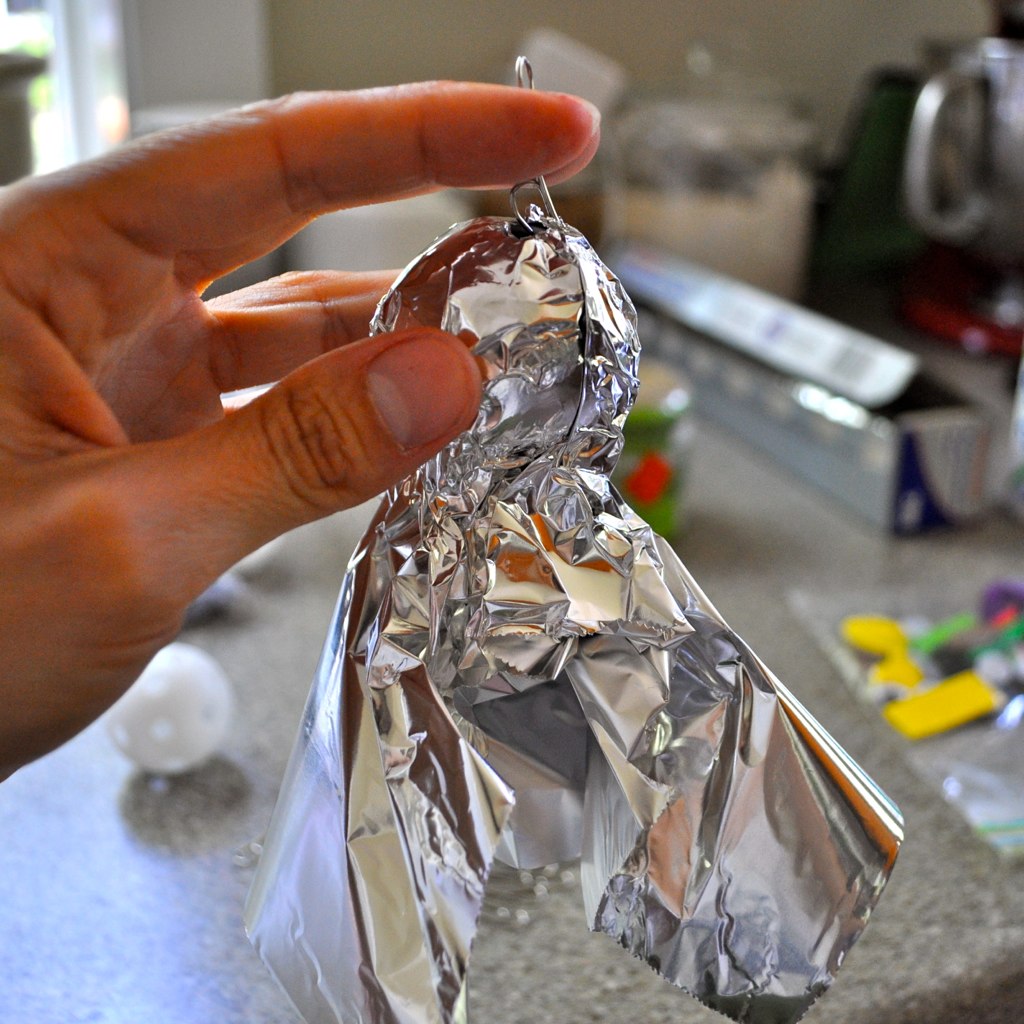
Step 3: Being careful not to pull the foil too hard (it will want to tear where the hole is, so support that area), close the foil around the ball, leaving two sections for the tail.
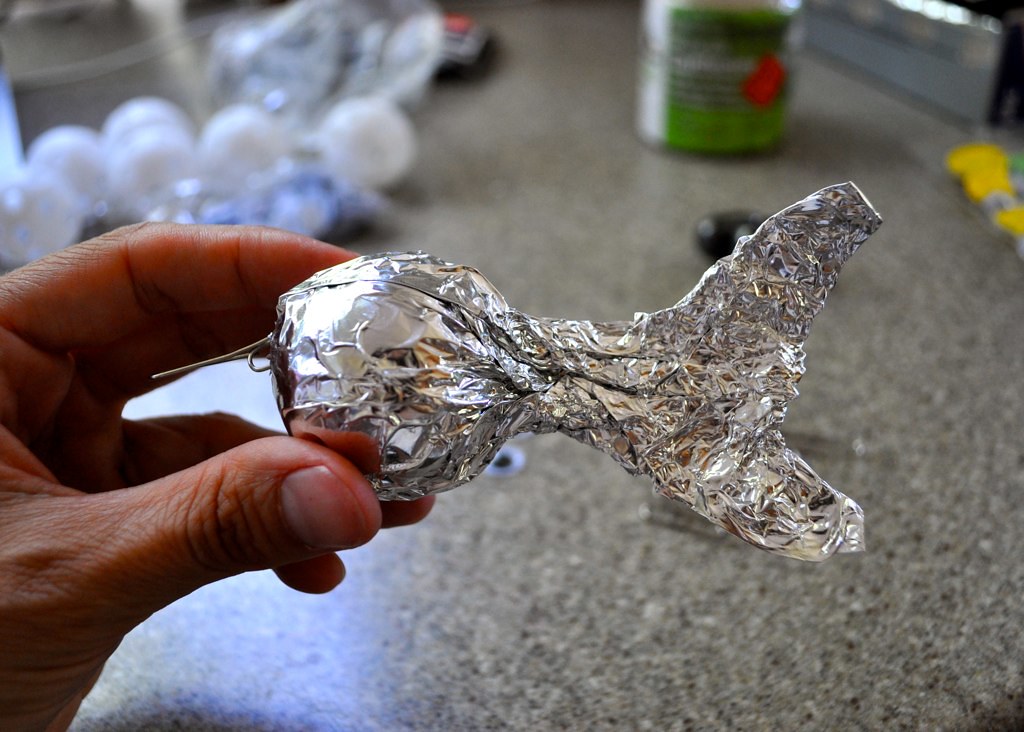
Step 4: Mold the tail however you like!
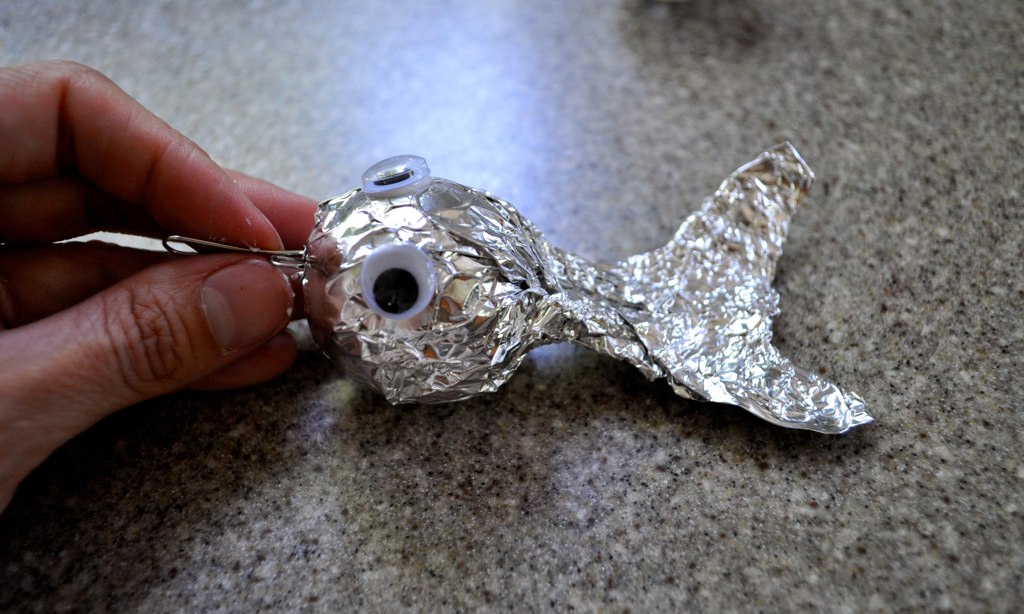
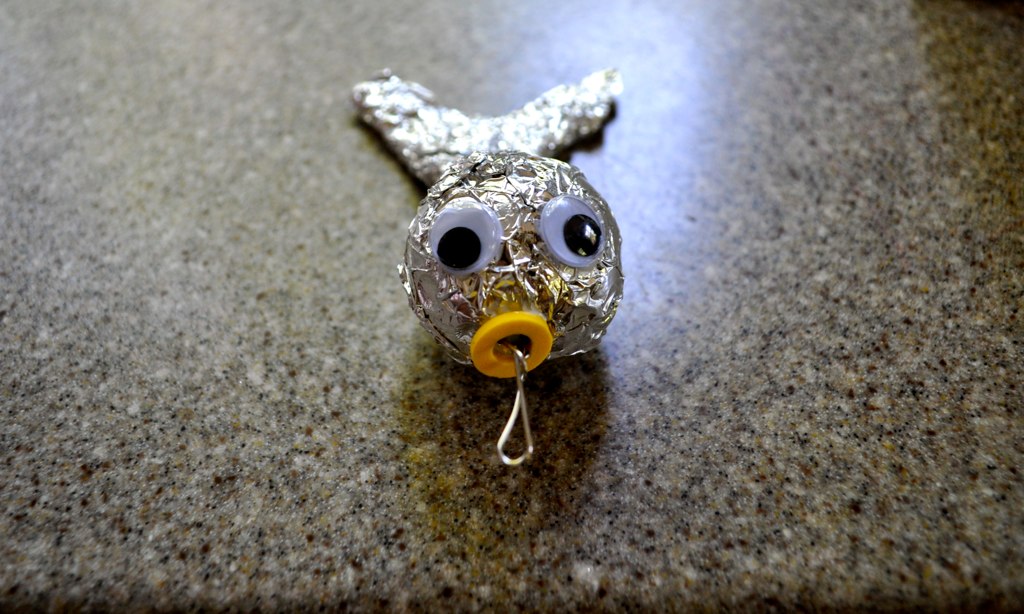
Step 5: Glue two eyes on top and set aside to dry (preferably overnight).
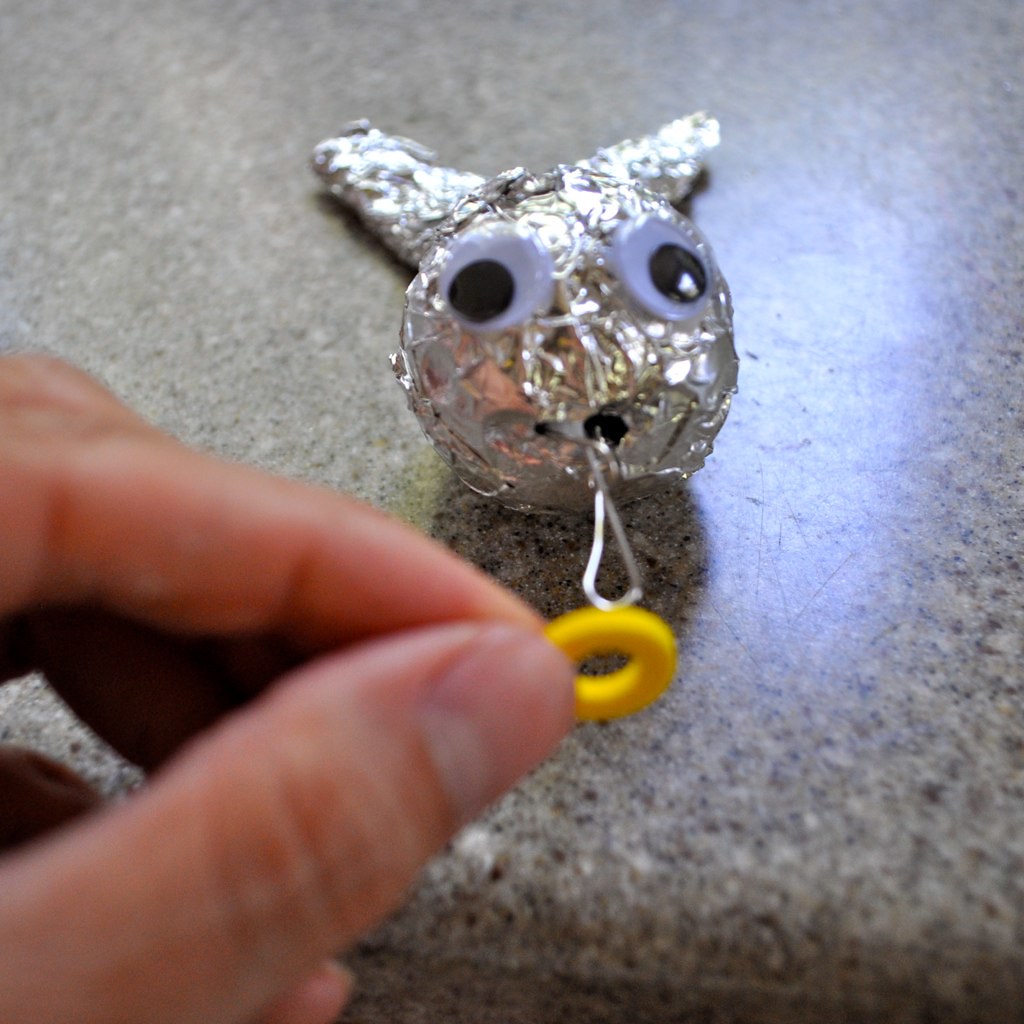
We also had some little foam rings and hearts so we decided to make mouths out of them by glueing them around the paper clip!
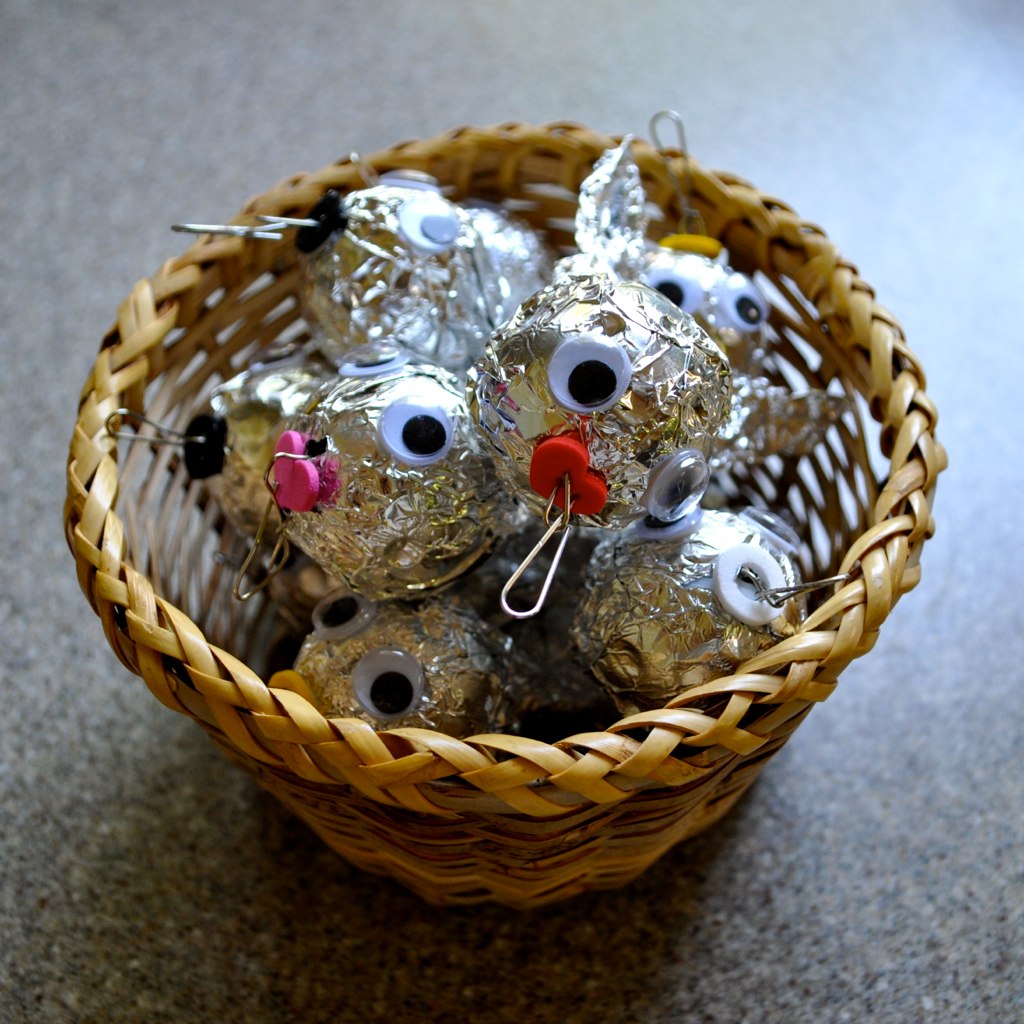
Step 6: Repeat with remaining balls to make 10 fish (we made some girl fish too).
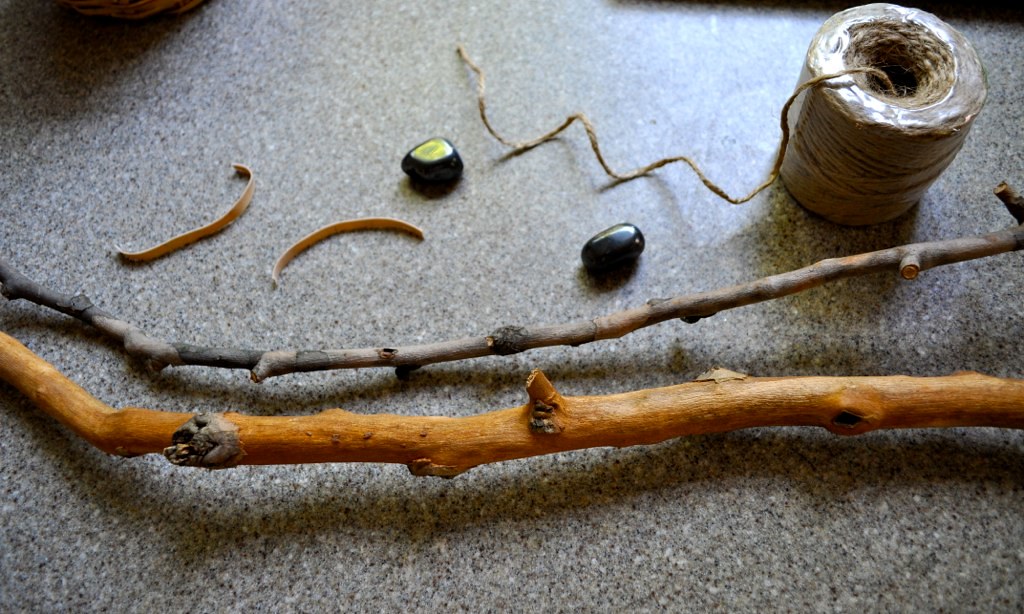
Step 7: For the fishing poles, start with a good length of string for the fishing line. Ours were about 3 feet long, but you can eyeball it.
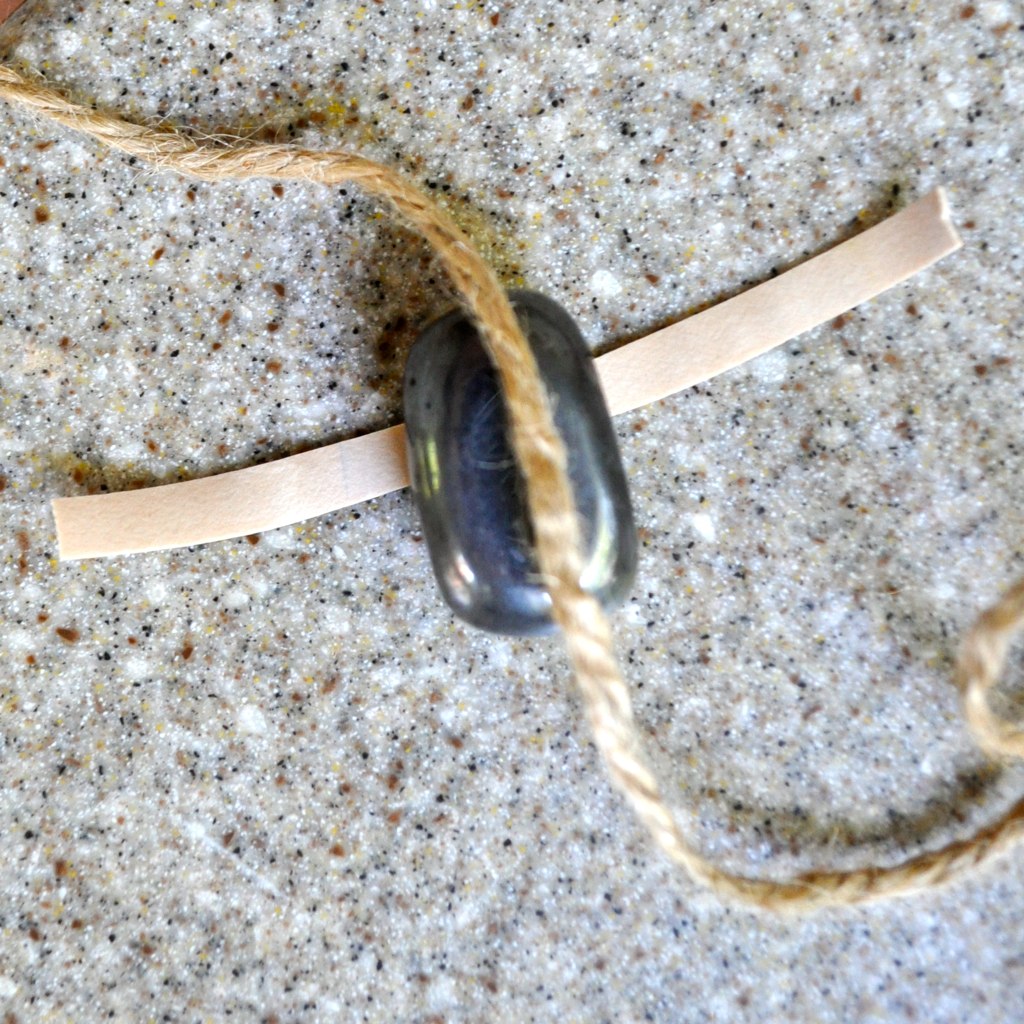
Step 8: Place one rubber band piece under your magnet with the end of one piece of string on top. Then tightly tie your rubber band around the magnet and string: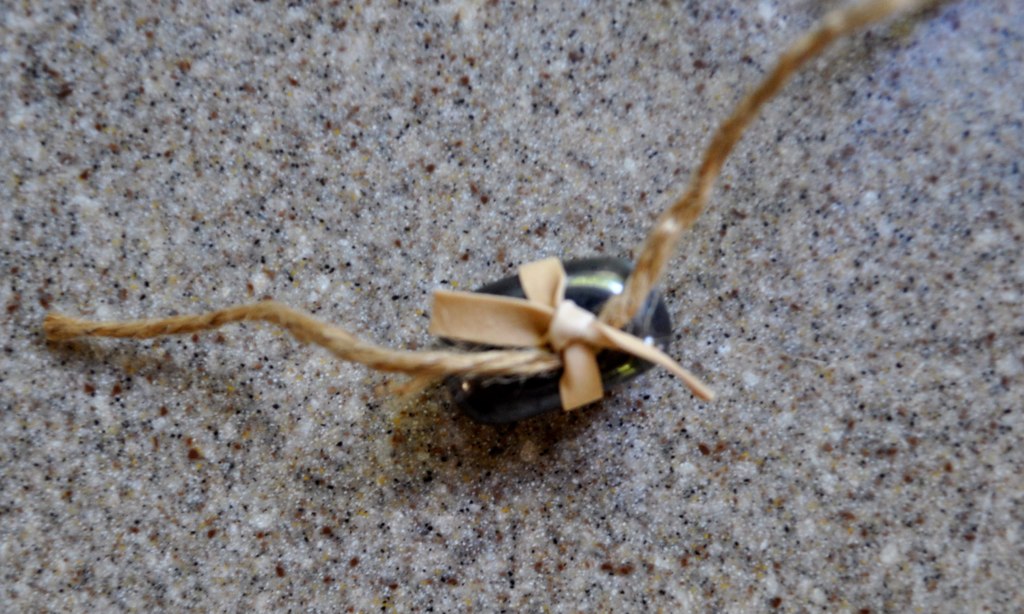
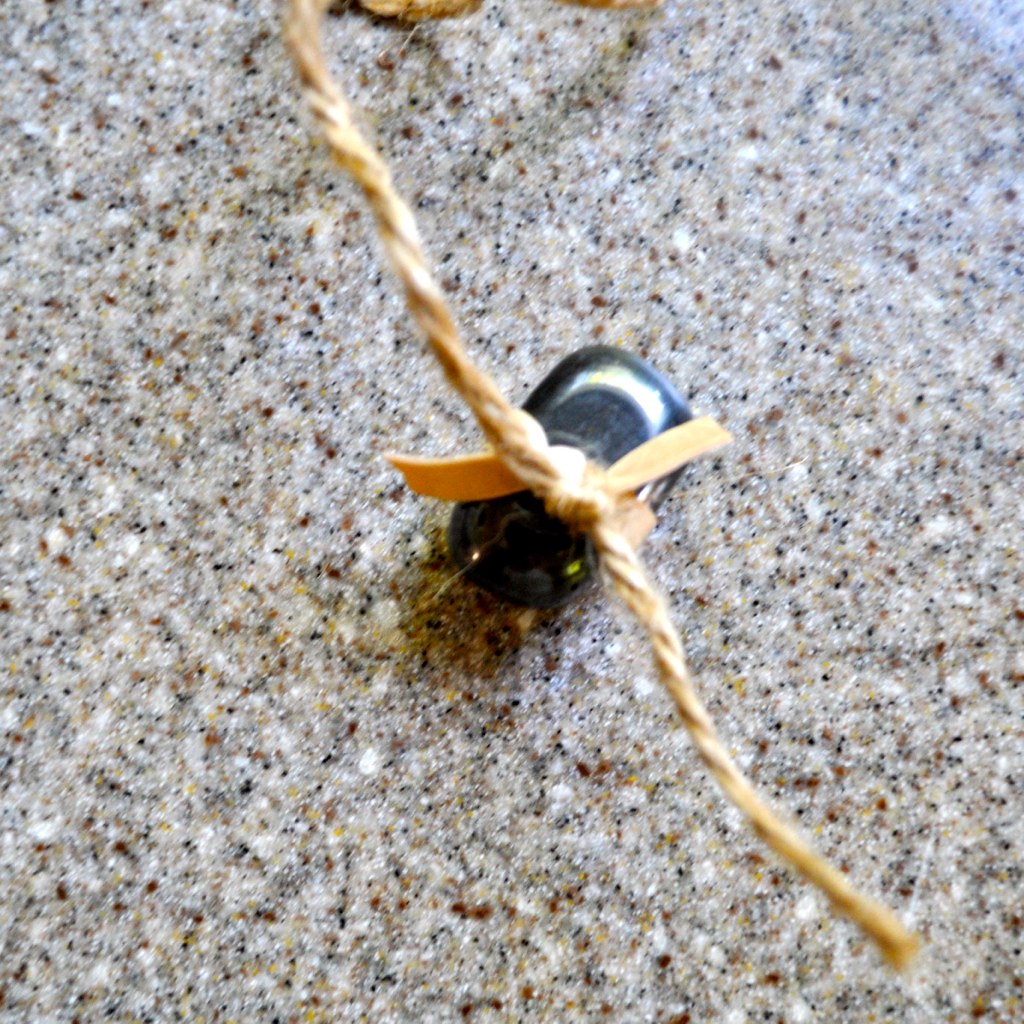
Step 9: Tie the string in a firm knot on top of the rubber band. You can trim the extra rubber band and string off if you prefer.
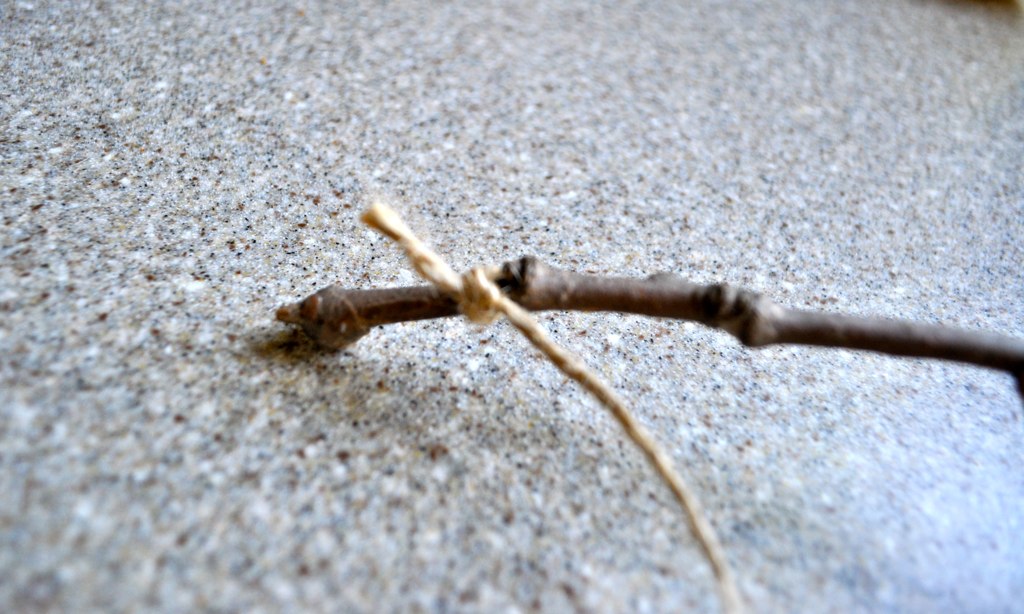
Step 10: Tie the other end of the string securely to the thinner end of your stick. And voila! You have your fishing pole! Repeat to make the second pole.
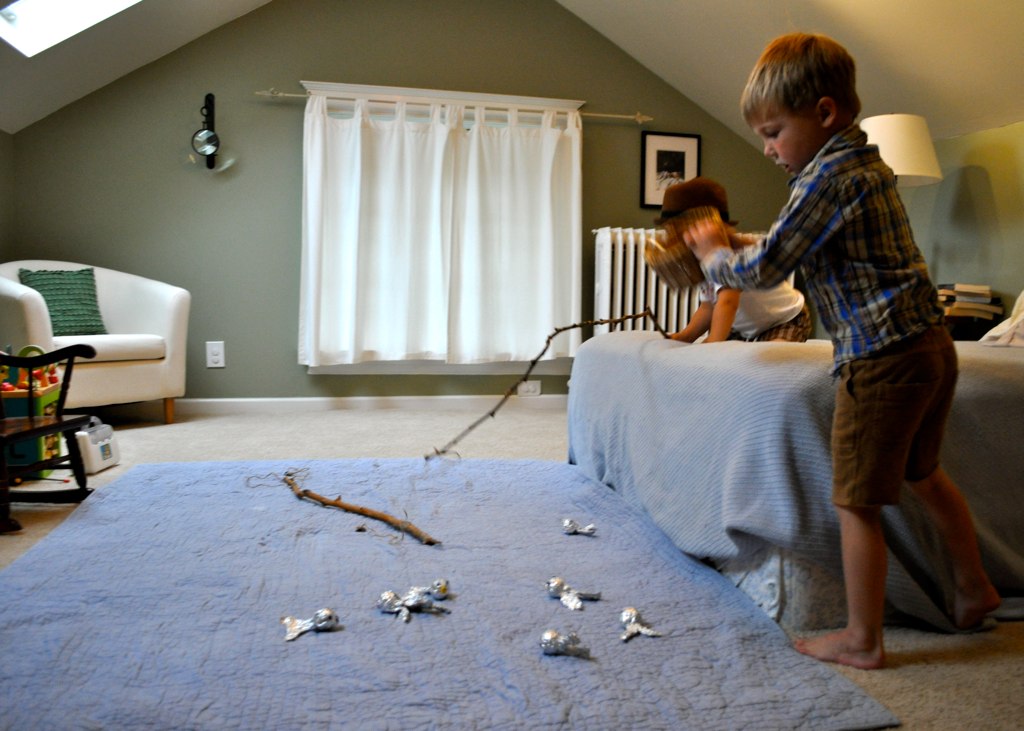
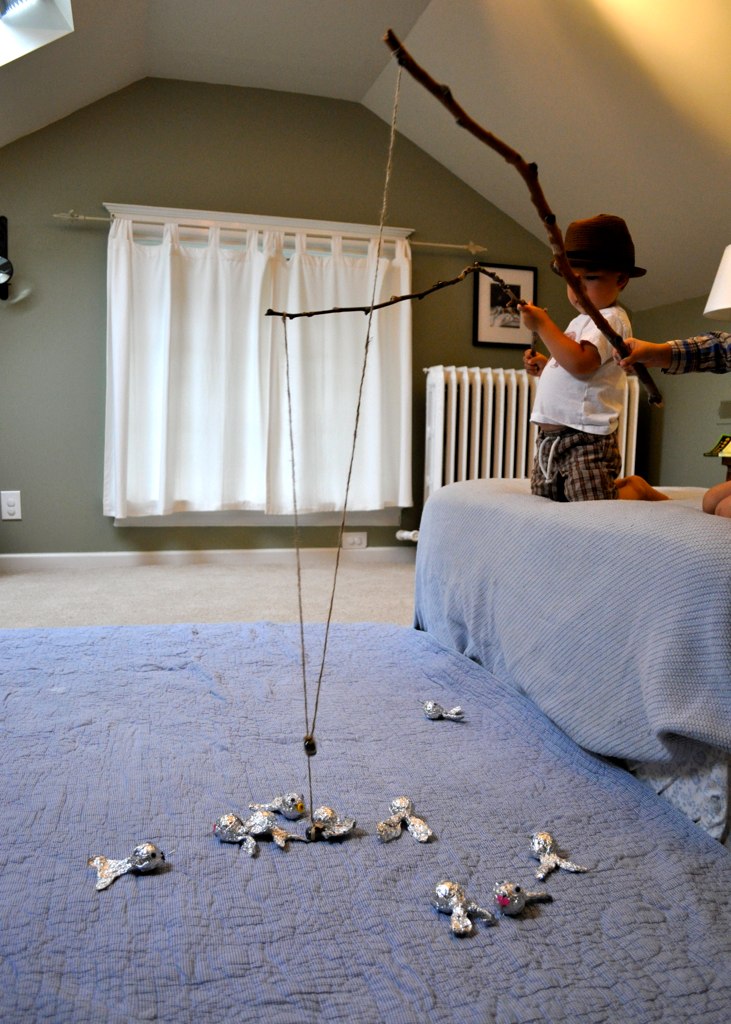
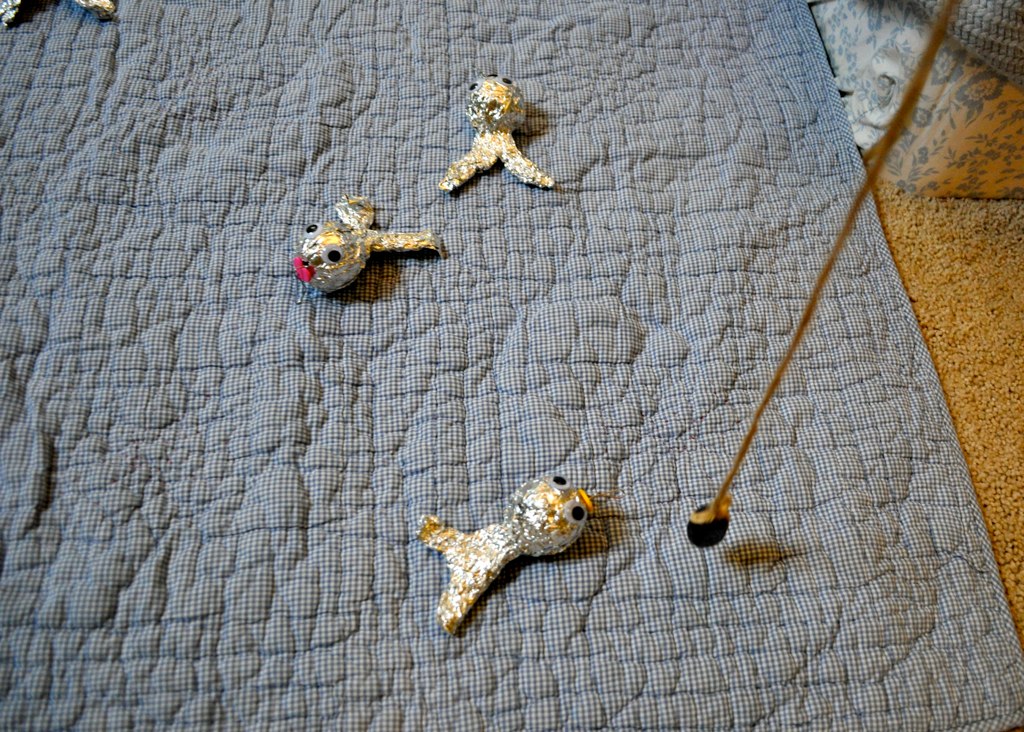
Now you can use your imagination! If you are stuck inside, you can create your own “pond” with a blanket. Make a boat out of a bed, or be extra creative and make one or two out of cardboard boxes or laundry baskets!
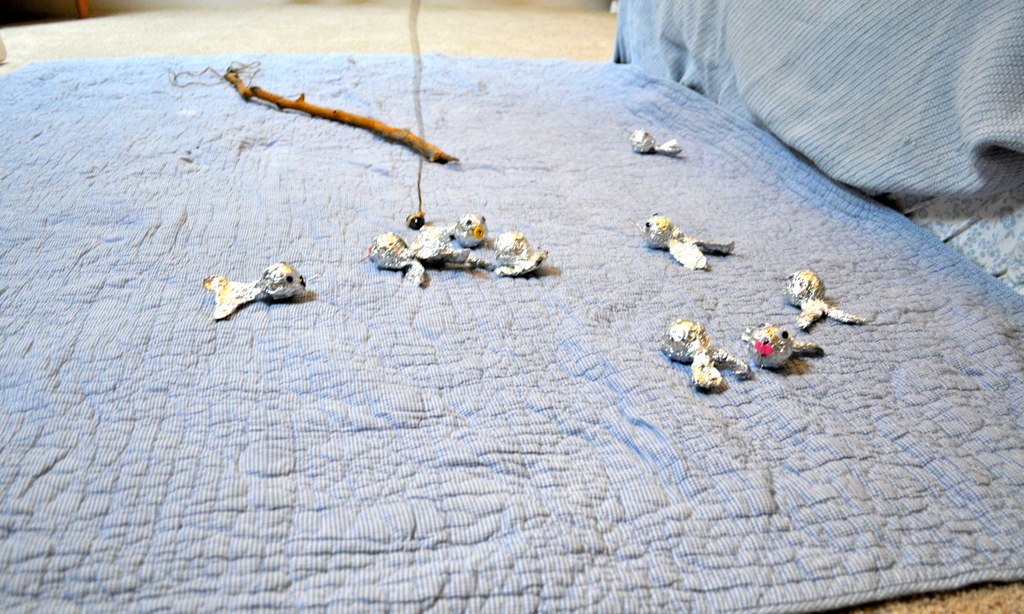
Scatter your fish, then let the games begin!
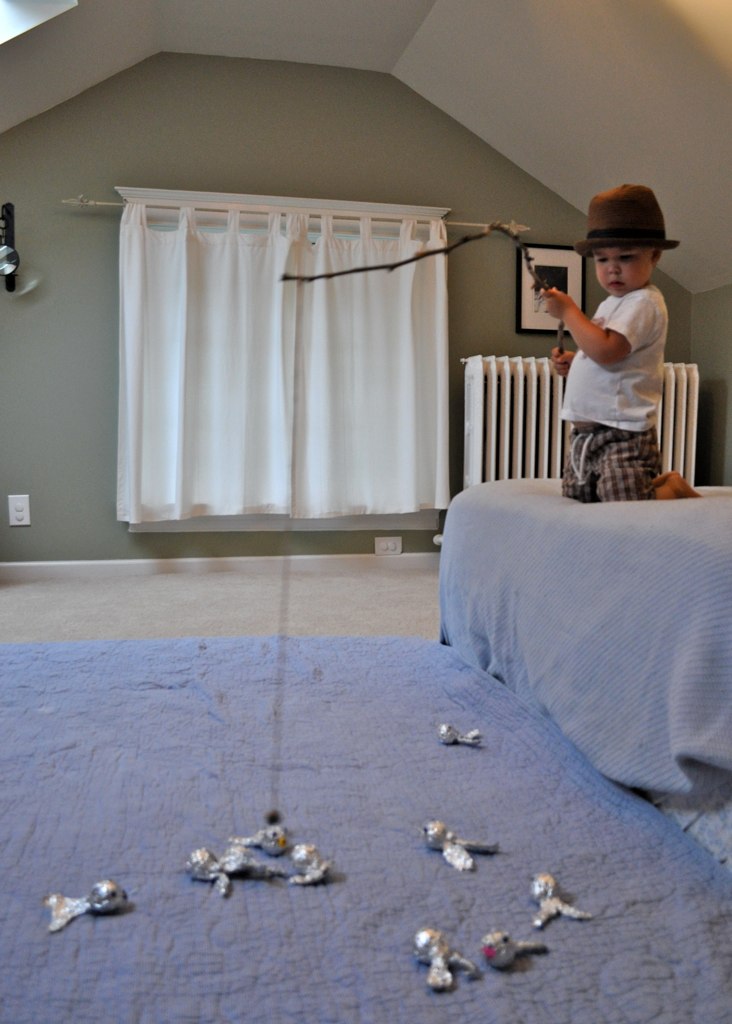
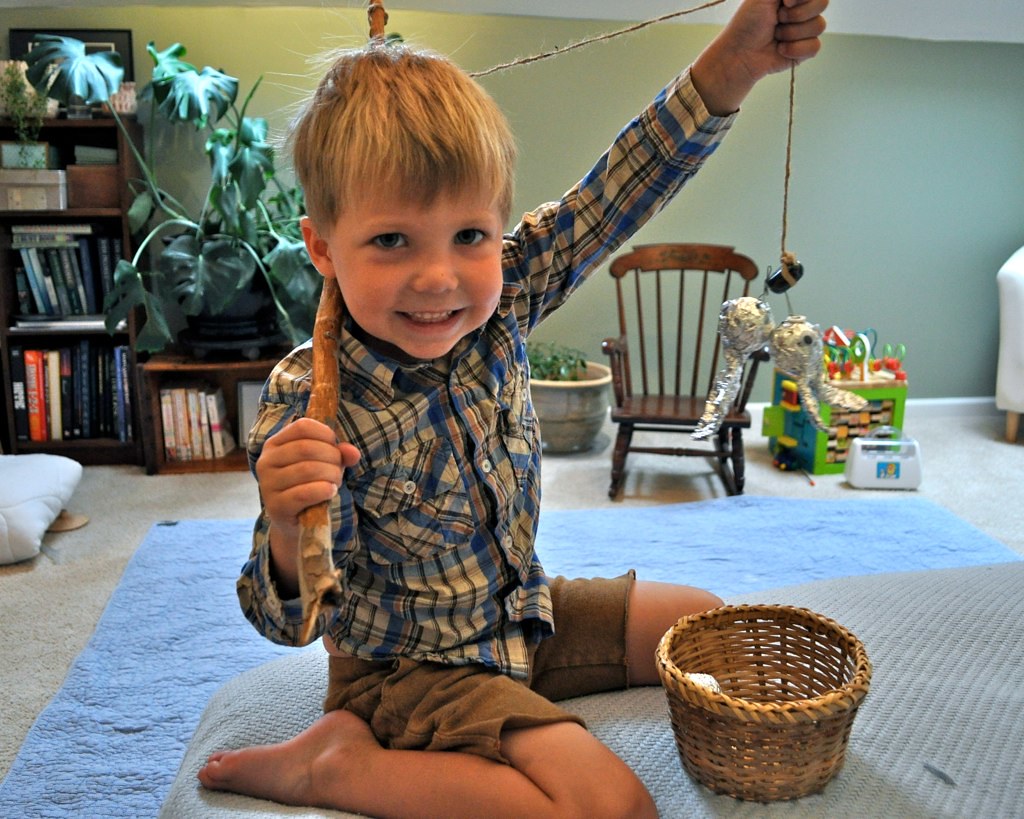
Oliver insisted he needed his “fishing hat” to do this!

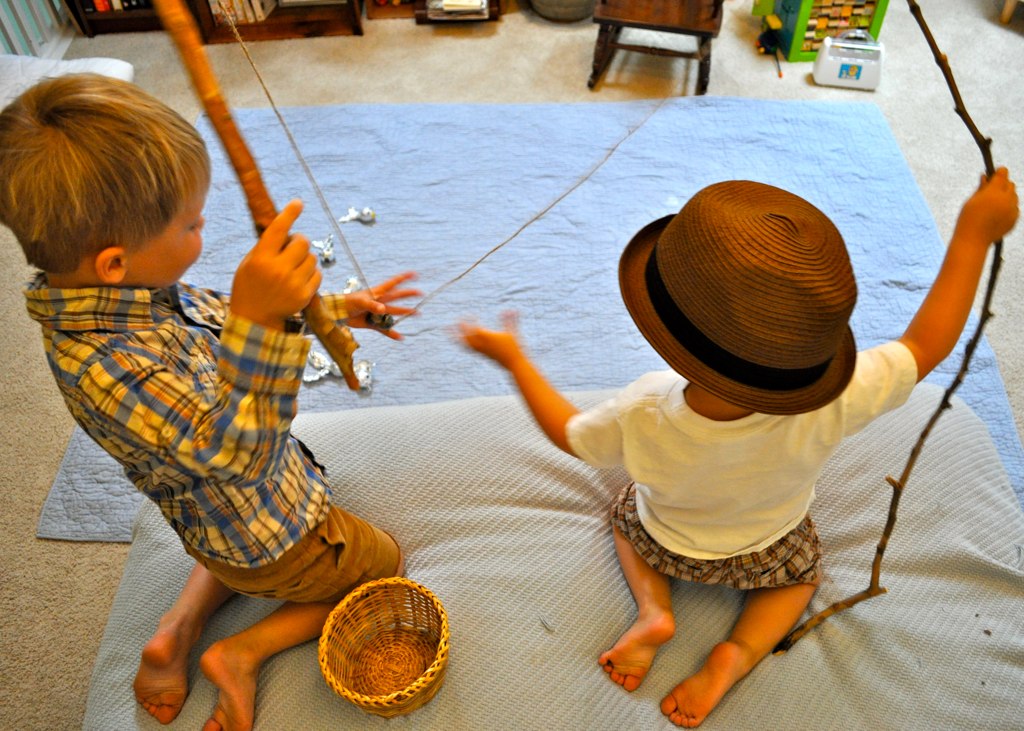
They caught two fish together!

Sometimes the strong magnets get stuck together… just like real fishing lures! No problem, just gently separate and continue on!

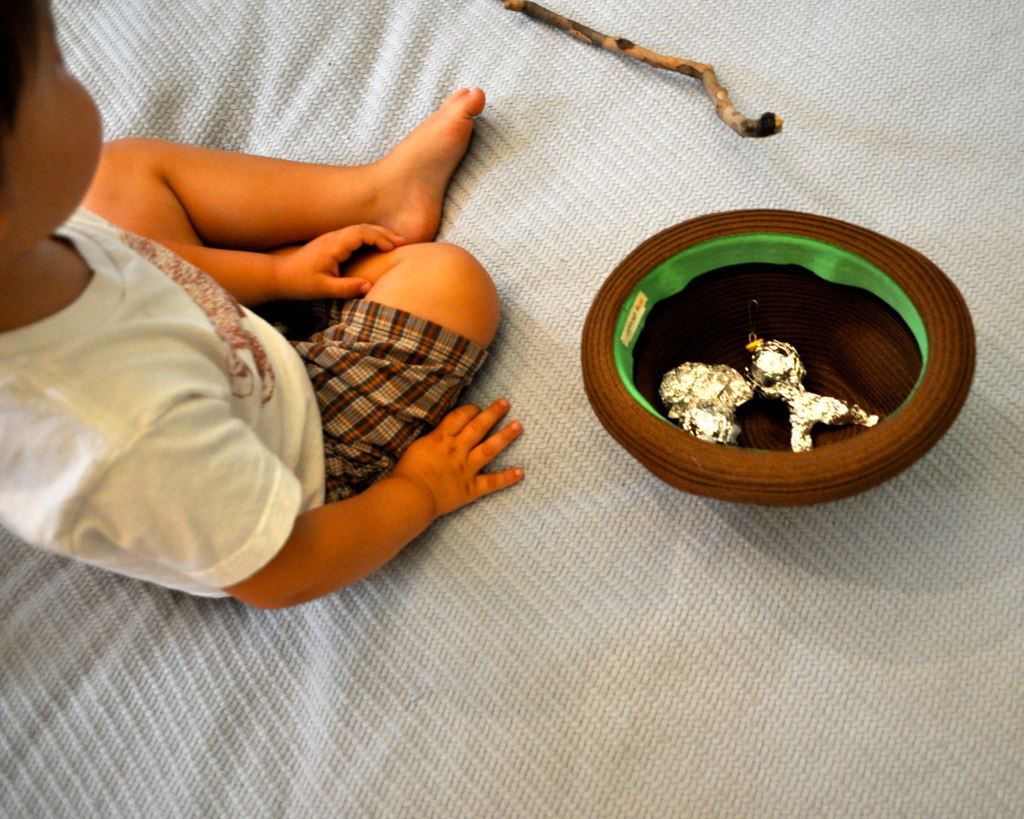
Collect them in a basket or in your hat!
Though we have yet to try these in the water, I am confident they will do really well since we used waterproof materials. The boys played with this all day yesterday and everything held up very well. We can’t wait to try this in real water, perhaps in a kiddie pool in the back yard.
This kind of game is so great for developing fine motor skills for older toddlers. Oliver was pretty frustrated at first because the string swings and the magnet needs to land right in front of the fish for it to catch. However, after a few tries, he got the hang of it and I could see the concentration on his face as he used those fine muscle groups and hand-eye coordination.
Hope you enjoy! If you try it out, let me know how it goes!
Very cool- they look like Tom Sawyer and Huck Finn on the edge of the bed! That basket of bobble eyed fishies is crazy cute, can’t wait until Wyatt is older and I can try some of these fun activities out.
I love this idea so much I had to Pin it! We’re always looking for toddler friendly super inexpensive/free stuff to do.
I love Oliver’s fishing hat by the way. 🙂
xo
cortnie
That does it… I believe Martha Stewart needs to be alerted to your genius craftiness! I see a fishing trip to NYC in your future.
Next time.., use the kid’s pool as their fishing hole? & definitely pack a lunch! Too fun! You must be the best mom ever!
Those fish mouthes are awesome, as is that fishing hat. Such a fun idea.
this is awesome! totally going to try it soon… if my kids stop quarreling for 2 seconds help me… 😉
Great, great, great idea!
This is such an awesome idea. Love the Adventure Day things you’re doing!! I just saw the teddy bear picnic, and oh holy cuteness, that was the best thing EVER. Can’t wait until we’re getting into adventures! 🙂
Whoa!! You are crafty and awesome, and I bow to your genius of finding fun stuff for littles to do.
yes, really, you are super crafty! I love this, and that you made it all yourself. the boys look like they quite enjoy it as well. Those branched fishing poles are too much too.
Cute. Cute. Cute.
x
J
Hello! I just started a blog yesterday on wordpress and will be uploading an idea similar to this fishing one you posted. I would like to mention your site as my source for inspiration if you do not mind (: Thank you for the great idea and keep up the fun!