
The day before Andrew left for Iceland, he and the boys created a Lego Band called The Nut House. The members: Johnny Cashew, Master P-Nut, Kenny Chestnut, Greg Almond. Runners-up: Gwen Pecan-y, A-Korn, and The Walnut Flowers. Your turn. Ready… GO!
Category: DIY Fun
DIY Fun: Painting Pots/Propagating Succulents
DIY Fun, by lauren, July 7, 2016, 1 Reply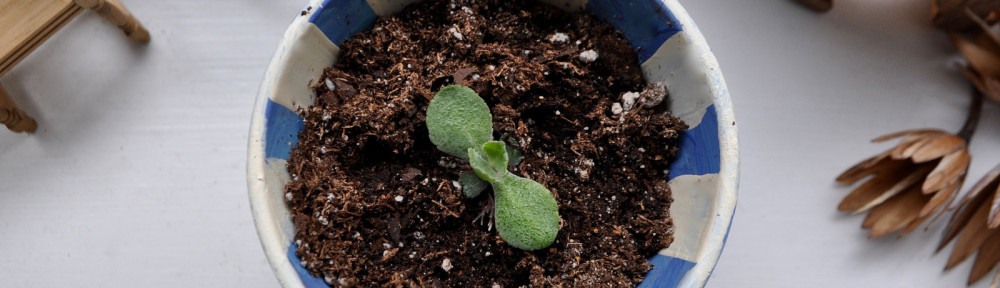
Last week we decided to paint pots on the back patio. The whole project only cost $20, given that we already had paint brushes and soil and the succulents we planned to plant in each little pot. I picked up the pots, saucers, and patio paints (paint specific for terra cotta pots) at Michael’s: six … Continue reading “DIY Fun: Painting Pots/Propagating Succulents”
Origami
DIY Fun, by lauren, June 16, 2015, 2 Replies
Milo is keeping very busy this summer. He has matured into such a driven, curious, knowledge-hungry little boy! When he is not spending time outside or burying his nose in a book, he is doing origami. And I’m not just saying this because he’s my kid — he’s really very good! I think it’s because … Continue reading “Origami”
10 Indoor Kids’ Activities to get you through Winter
DIY Fun, by lauren, January 8, 2015, 5 Replies
Well, guys and gals, it’s freaking freezing here; yesterday our high was 9 degrees. I’m thinking this post is right on time! If you’re looking for some inspiration to keep your kids busy inside, head over to the Washington Post for a complete list of ideas. P.s. — I’m currently… um… prepping… for a colonoscopy tomorrow. Fun. I’ll let … Continue reading “10 Indoor Kids’ Activities to get you through Winter”
Reading, Experimenting
Books, by lauren, November 6, 2014, 6 Replies
The Elements: A Visual Exploration of Every Known Atom in the Universe, by Theodore Gray, photography by Theodore Gray and Nick Mann I have to share one of the best books we’ve ever purchased for our kids. It is, in Milo’s words, “Amazing because it has a fold-out periodic table of elements. It’s awesome!” (he … Continue reading “Reading, Experimenting”