
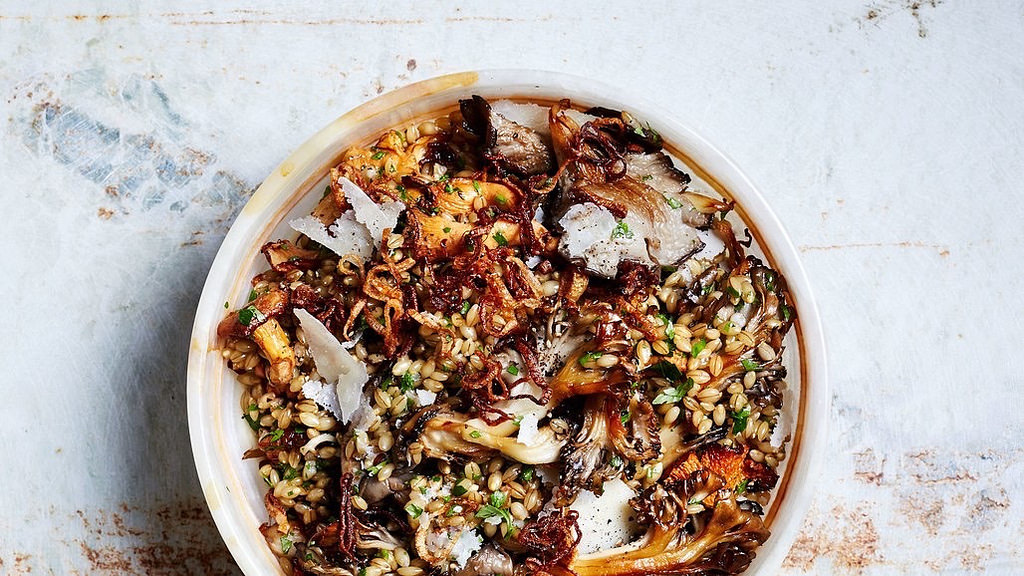
It’s almost Thanksgiving, and this year we’re so excited to be hosting my mom and brother for dinner. I can’t wait for the turkey, which Andrew smokes slowly all day long in our ceramic grill (which, thank goodness, frees up the oven for all the tasty sides)… though it does make the gravy a bit … Continue reading “Thanksgiving Day Recipes”
Category: Food
Raspberry Goat Cheese Blondies
Food, by lauren, October 27, 2016, 2 Replies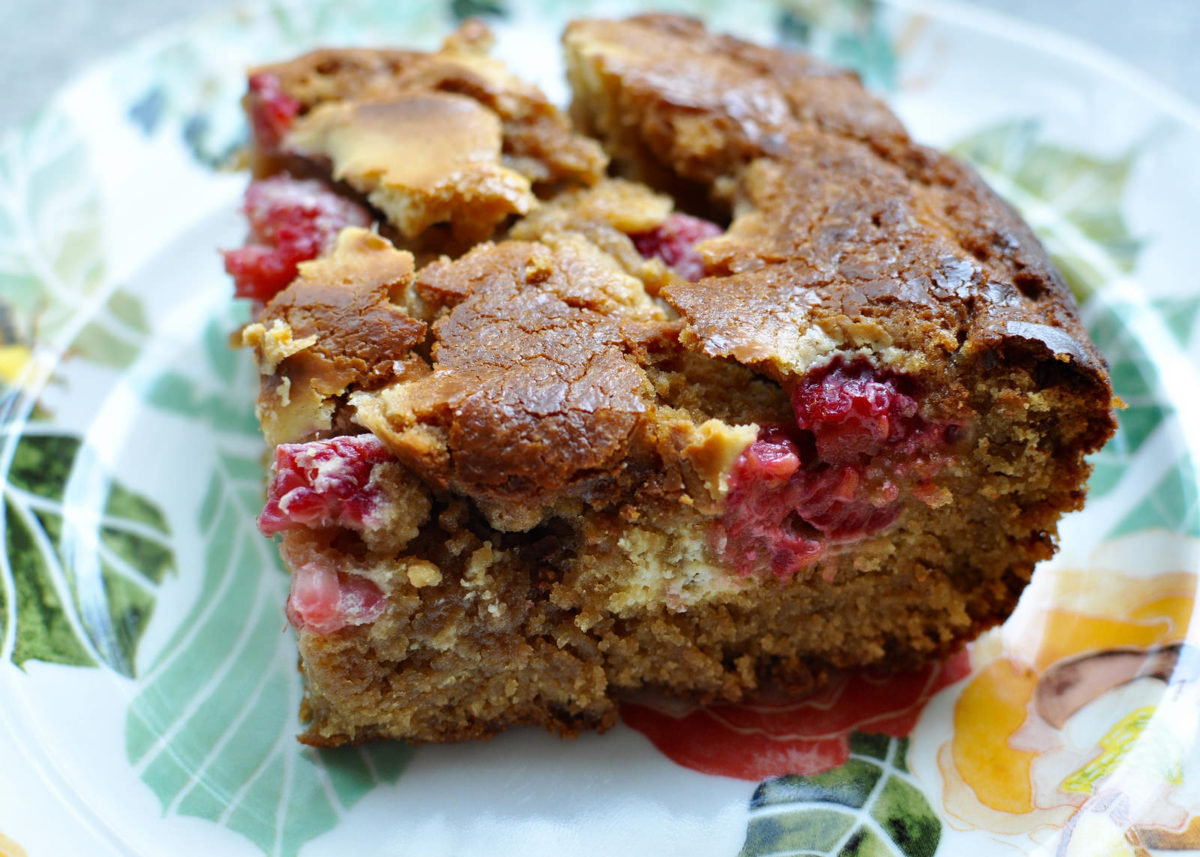
Even though it’s technically pumpkin everything season (and Halloween is quickly approaching), we picked up a big 2-pint container of juicy ripe raspberries at the grocery store and just couldn’t eat them fast enough. I decided, after viewing this recipe, that we needed to use them up in my first attempt at a blondie recipe. … Continue reading “Raspberry Goat Cheese Blondies”
Apple Custard Pie
Food, by lauren, September 27, 2016, 2 Replies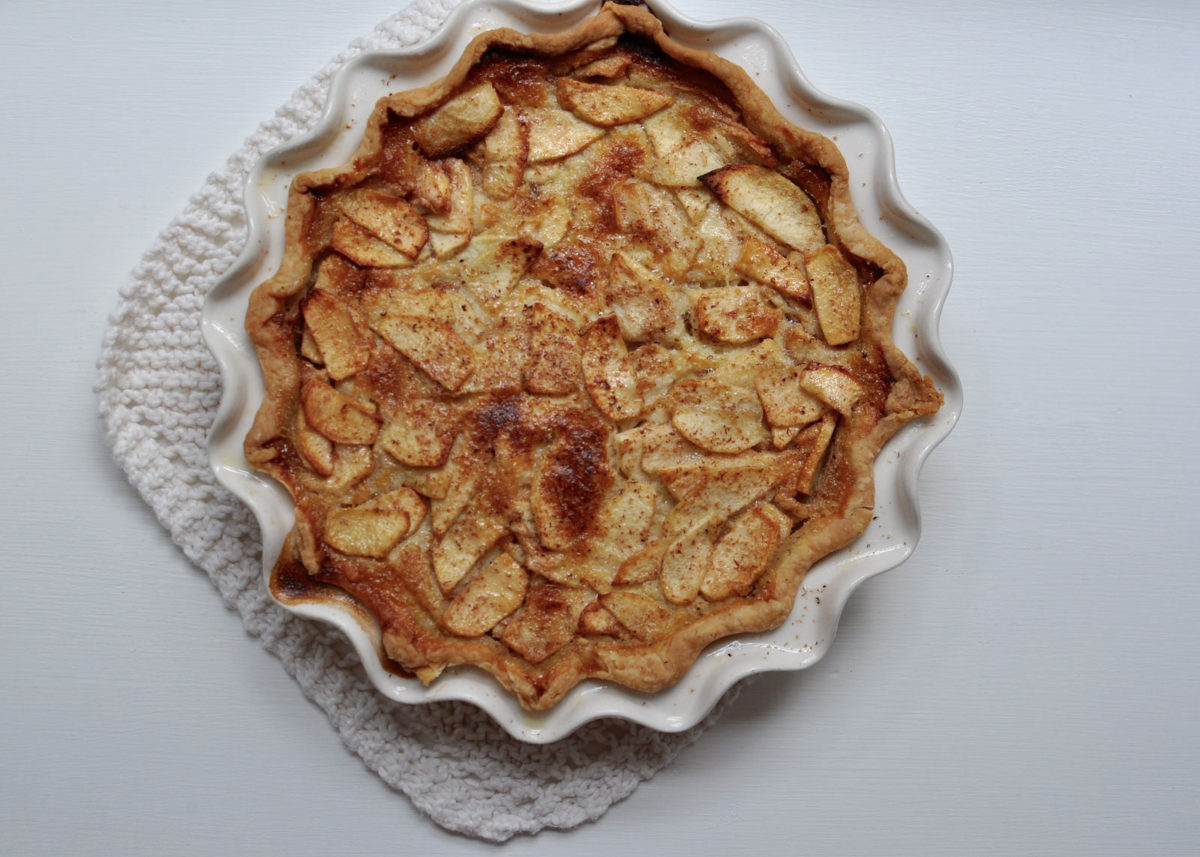
We have been neck-deep in apples for about a month now, with the last of our giving tree’s gifts just now tapering off for the season. We have made applesauce, apple butter, apple cheddar hand pies, and four apple custard pies; I think you will love this last one! We took one to a picnic … Continue reading “Apple Custard Pie”
Ginger Chicken & Bombay Aloo
Food, by lauren, September 13, 2016, 1 Reply
A couple of days before my sister visited us this past weekend, she suggested that we cook an Indian meal together. I wholeheartedly agreed; one of the things we enjoy doing when we are together is cook!
On Mama Friends
Food, by lauren, September 12, 2016, 9 Replies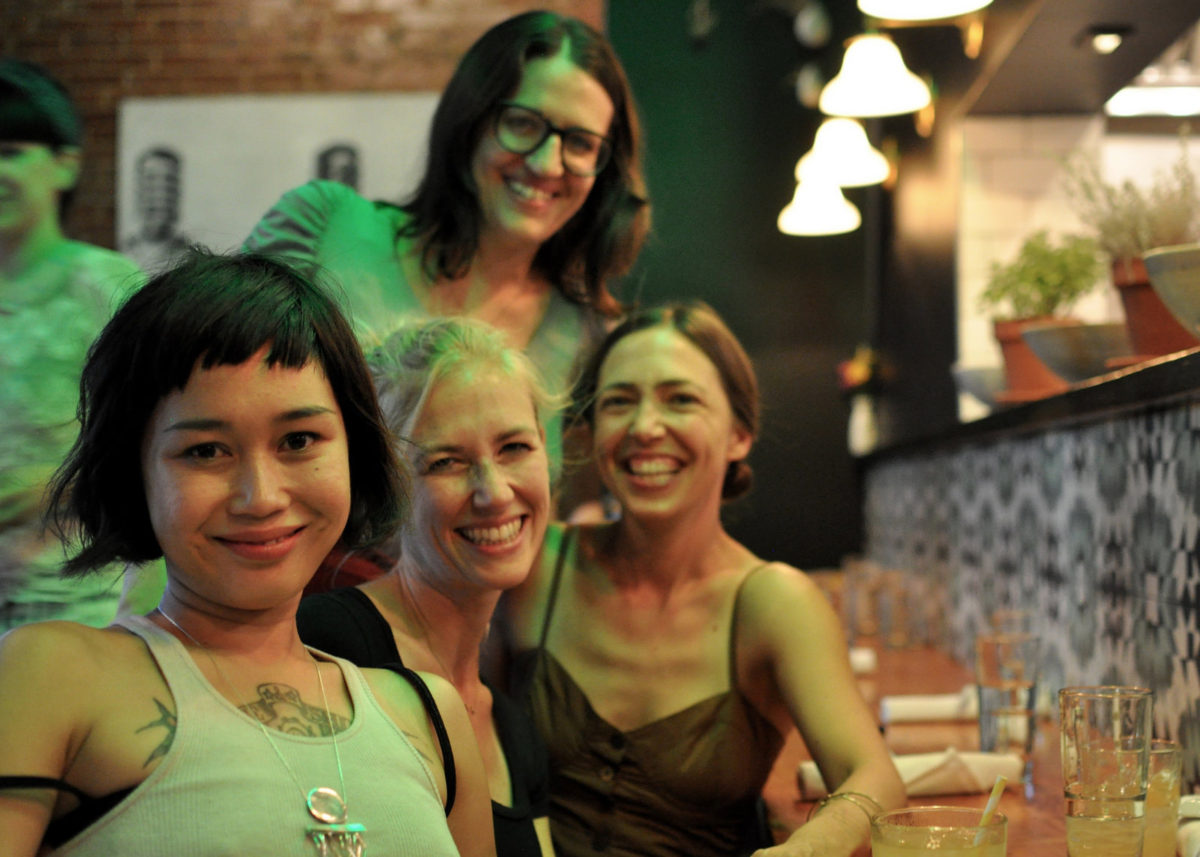
I cannot go without saying that two of the best nights of my whole summer were spent with these mamas.