I was so inspired by Phishybee‘s post on homemade ornaments with her kids that I decided to do them with my crafty little boys this past weekend. It was a lot of work, but also fun, and with nothing but time since they’re home from school, we spread the activity out over a couple of days.
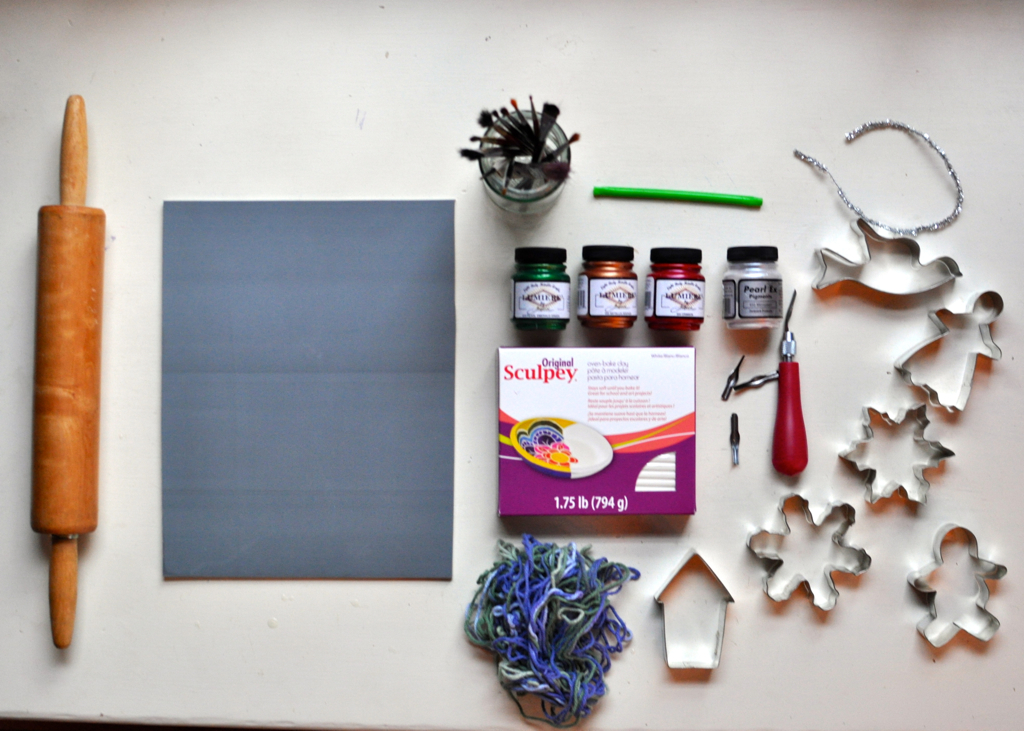
What We Used:
- Rolling pin
- Sculpey Oven Bake Clay
- Cookie Cutters
- Wax Paper (for protecting surfaces)
- Acrylic Paint (we used these metallic colors)
- Something to add texture (optional) — we carved our own patterns onto Blick Ready-Cut Plates, but that was a lot of extra work! Jenny recommends using what you have on hand: beads, pinecones, rubbing plates, etc.
- Thin string or ribbon
- Paintbrushes
- A straw
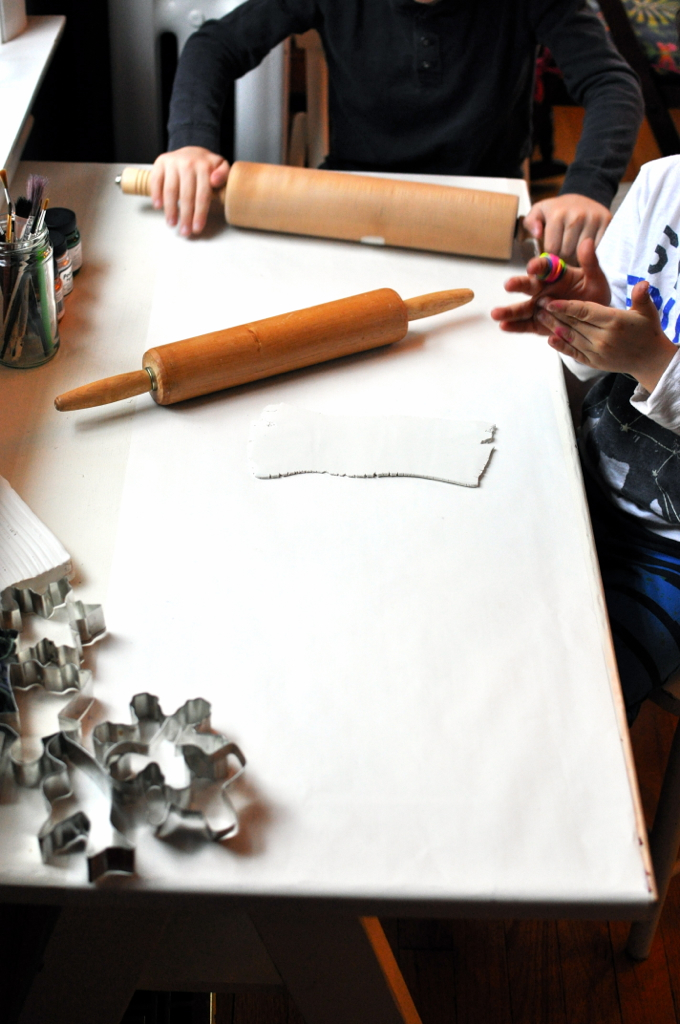
First, roll out plenty of wax paper on top of your work surface. This will keep the clay from sticking, and you can paint on it too once the ornaments have baked!
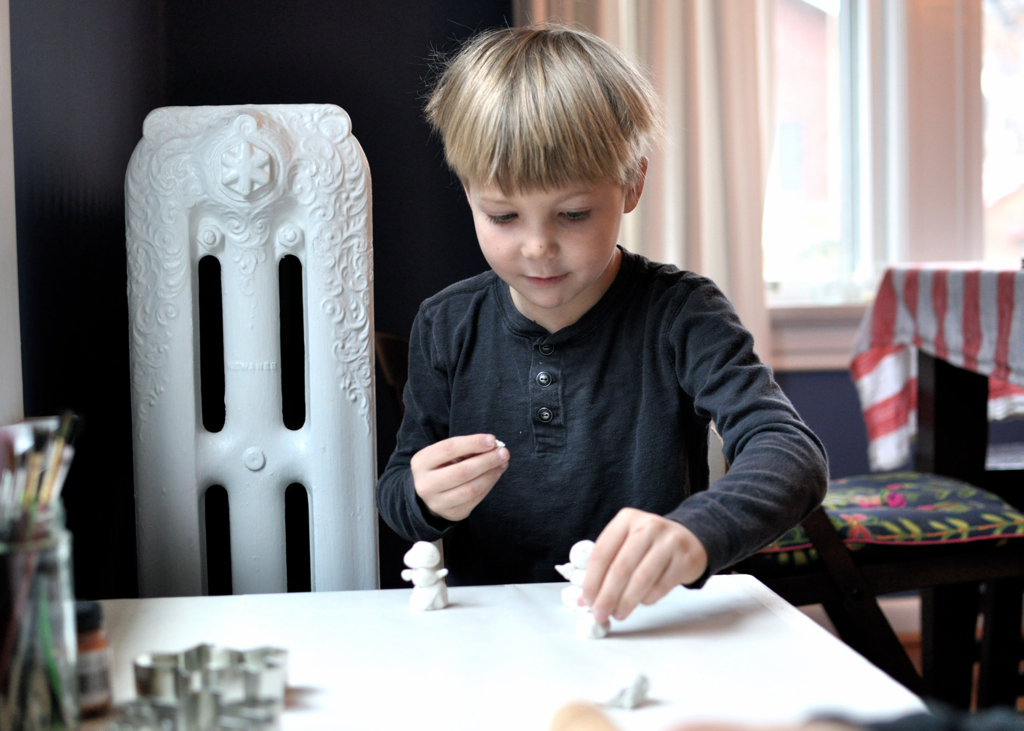
The next step proved most fun for the boys — breaking out the Sculpey and kneading it with their hands to warm it up enough for rolling out. It can start out kind of crumbly, but the more you work with it, the softer it becomes. The boys enjoyed making snowmen and kneading the clay with their knuckles.
Next, roll out the clay until it is about 1/4 of an inch thick.
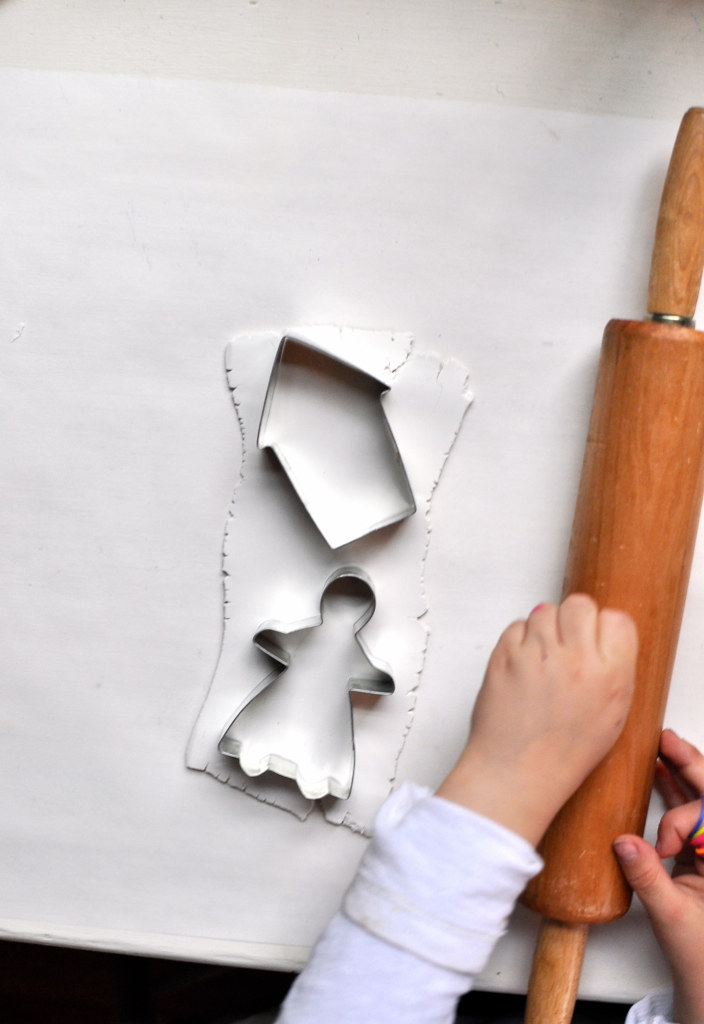
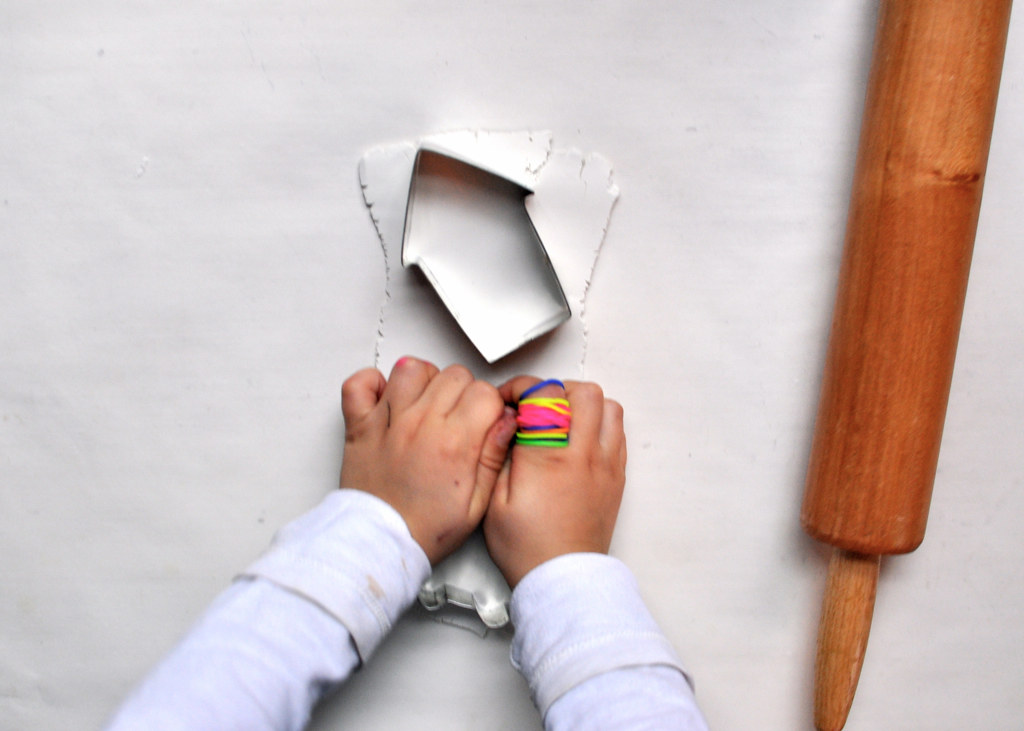
Now the cookie cutters come out. Choose the designs you’d like and cut out the clay with the cutters.
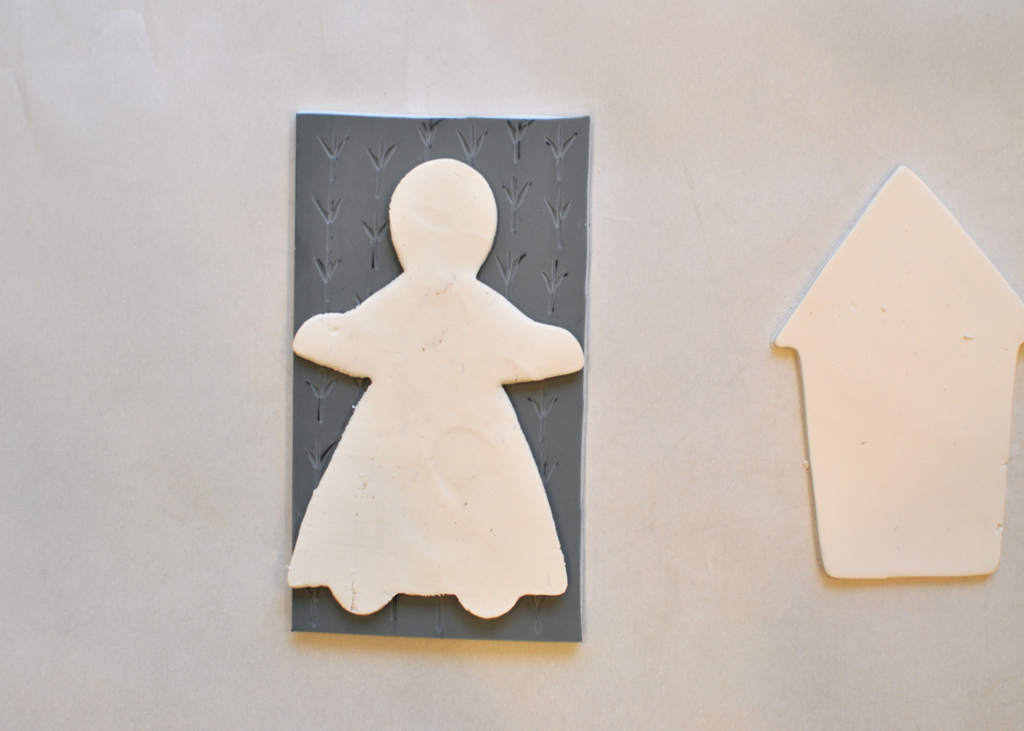
Before popping into the oven, press the top side of your ornament onto your pattern plate (or whatever you are using for texture). Then place face-up on a cookie sheet (also covered in wax paper), and keep cutting out shapes until you have the desired number of ornaments*.
*Important! Don’t forget to poke a hole through the top of each ornament with your straw before you pop them in the oven!
Bake at 275 for about 10 minutes (follow the directions on the package of Sculpey). Remove from oven and allow to cool. 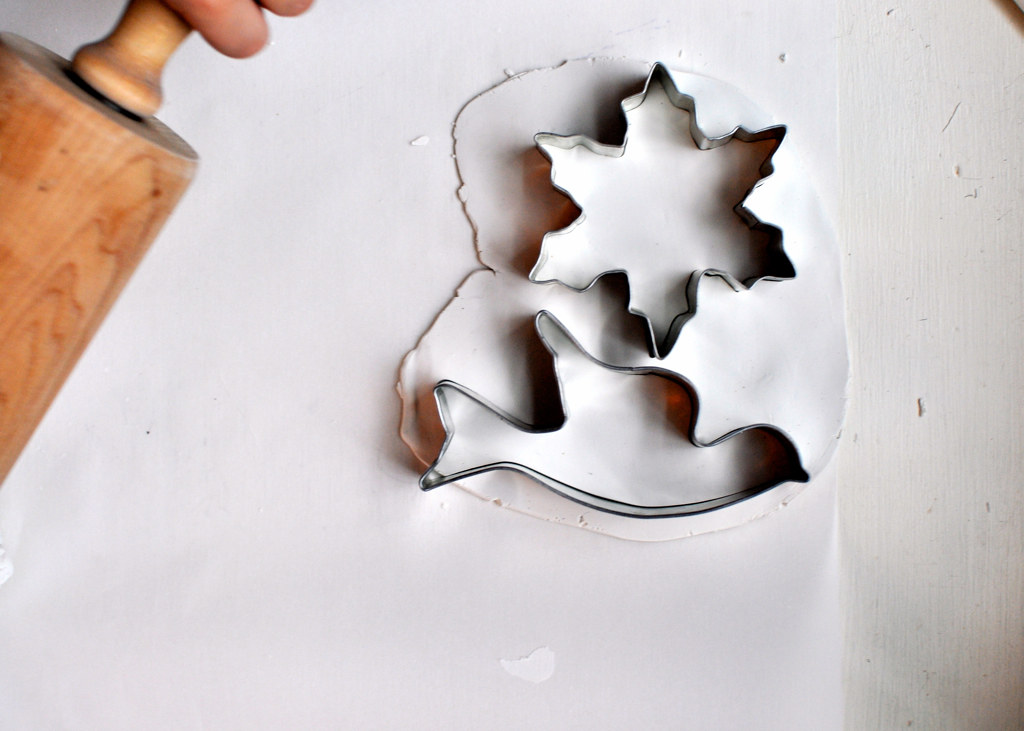
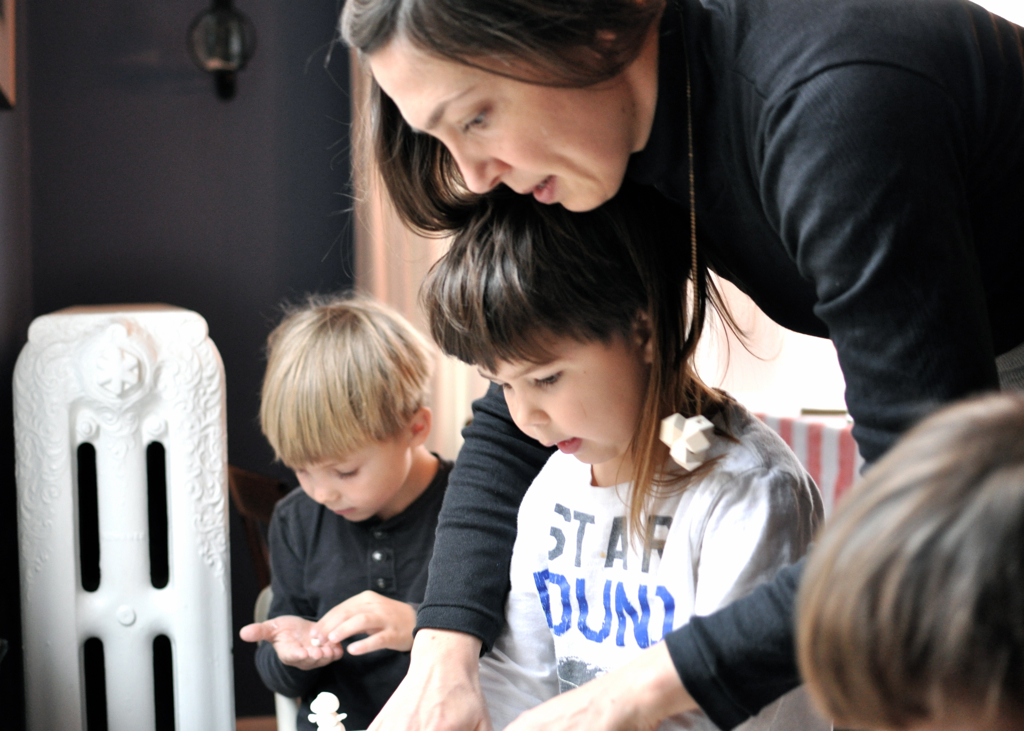

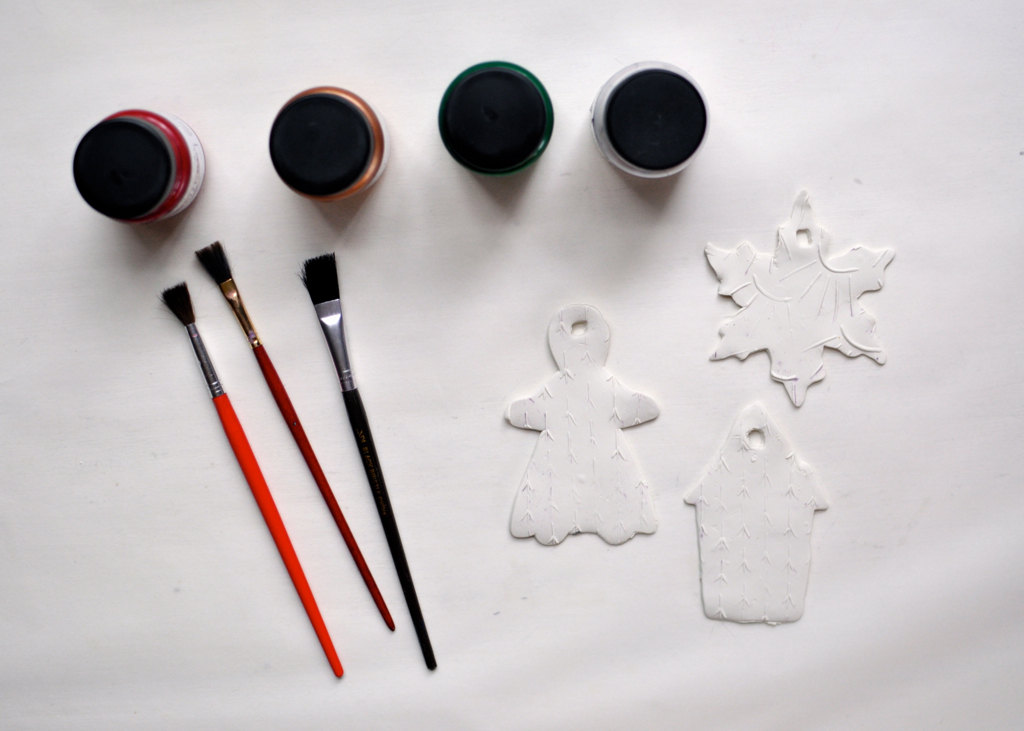
Once completely cool, you can start painting! This, I admit, almost gave me a heart attack. I wish I could say I don’t care where the paint ends up and how free and loving and relaxed I am during this time, but that would be a lie. Ha! Let’s be honest; it’s acrylic paint and these three little guys can be a bit messy. We did our best to keep all the paint on the wax paper and the ornaments, wore aprons, and I reminded the boys to use only one paint brush for each paint to avoid a huge mess and totally mixed-up paints. I admit, I prefer watercolors when working with little ones and paint! 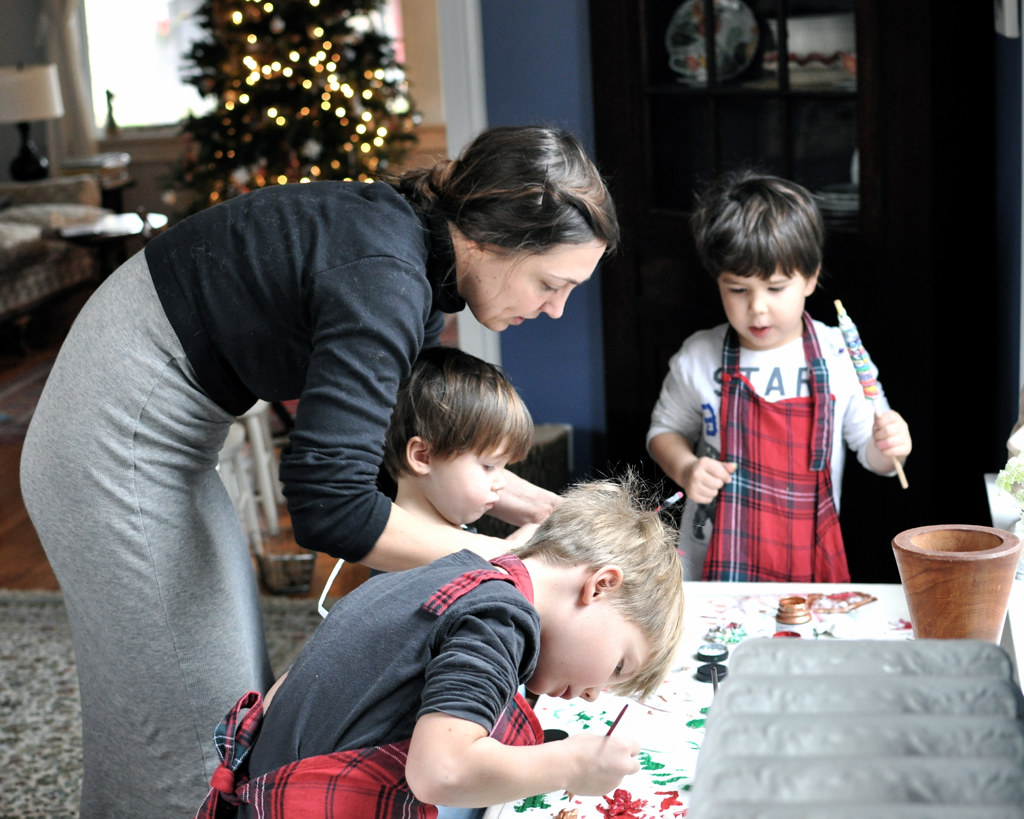
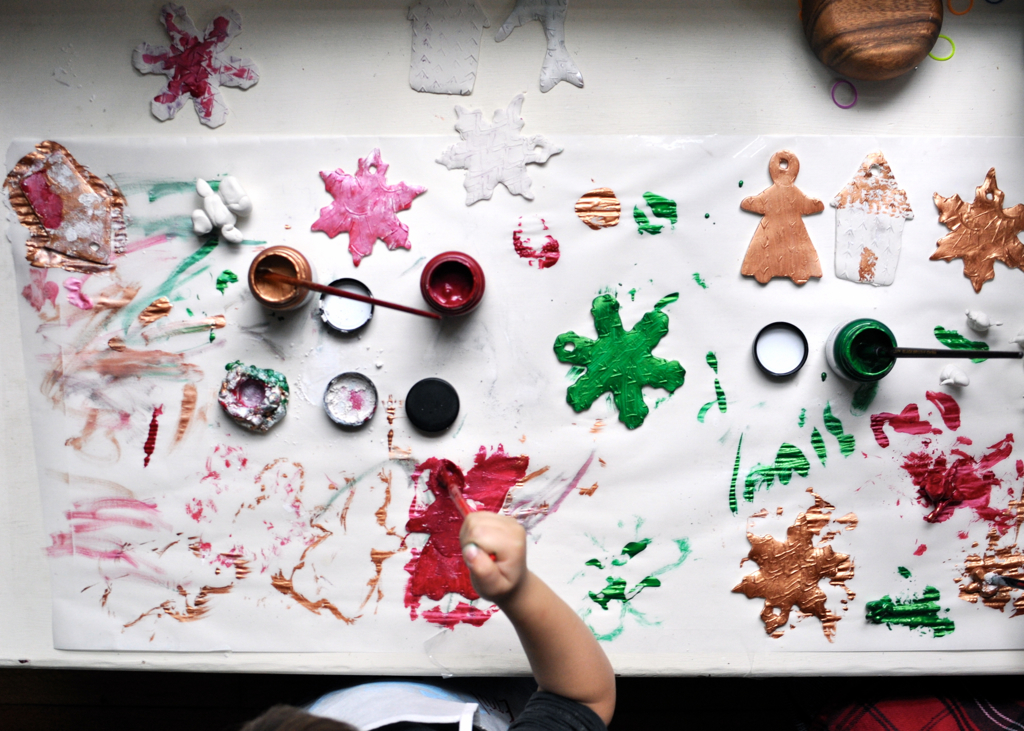
But I’m glad we did it! The metallic paints turned out so pretty, especially the bronze, which made the final results look like they were actually made out of bronze instead of clay. Shiny and fancy, Emil says! 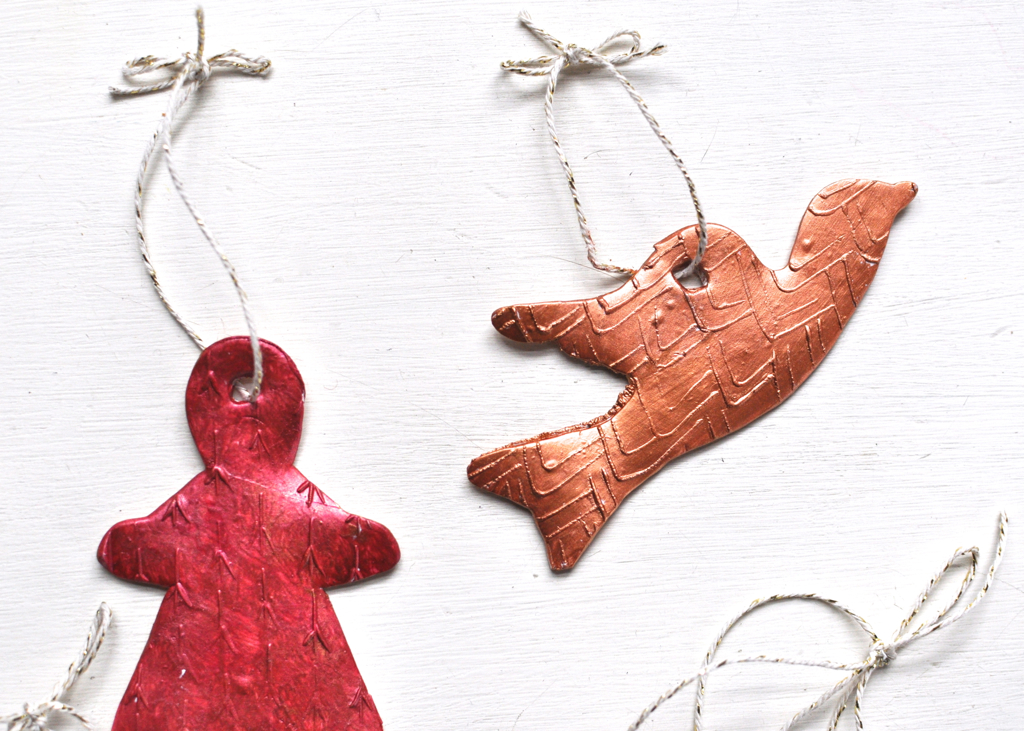
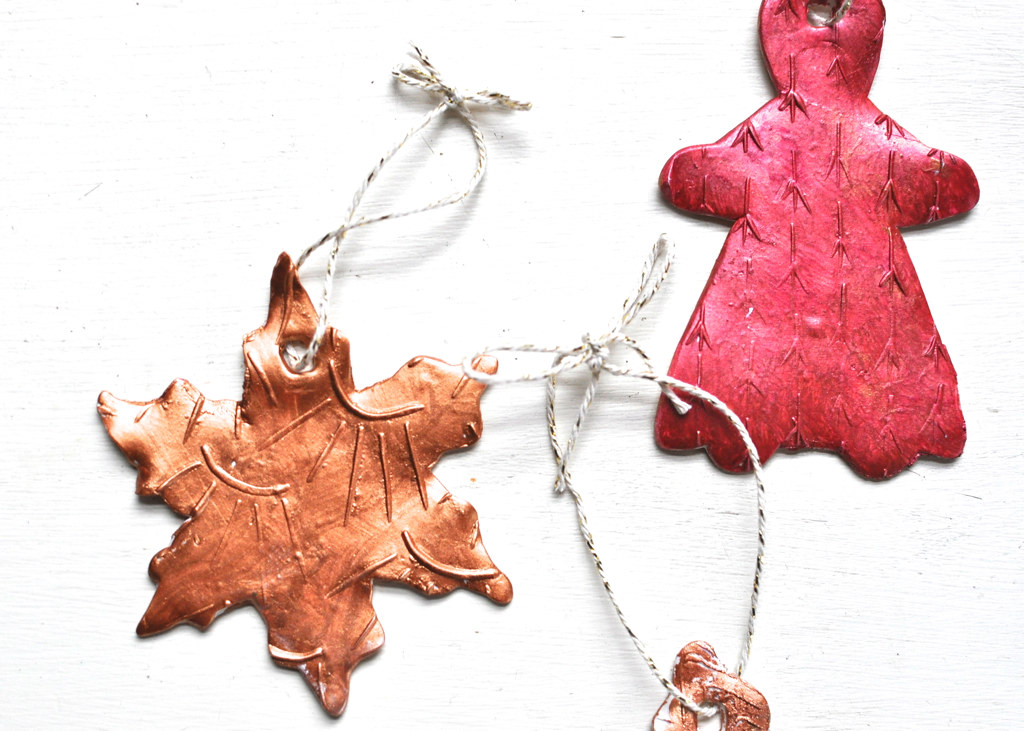 Once they are dry, paint the back. This paint dries super fast — wait ten minutes and it should be completely dry! Last, tie the little strings around and voila! We are attaching ours to the tops of gifts for family with little notes on the back. Thanks, Jenny, for the great idea and comprehensive tutorial!

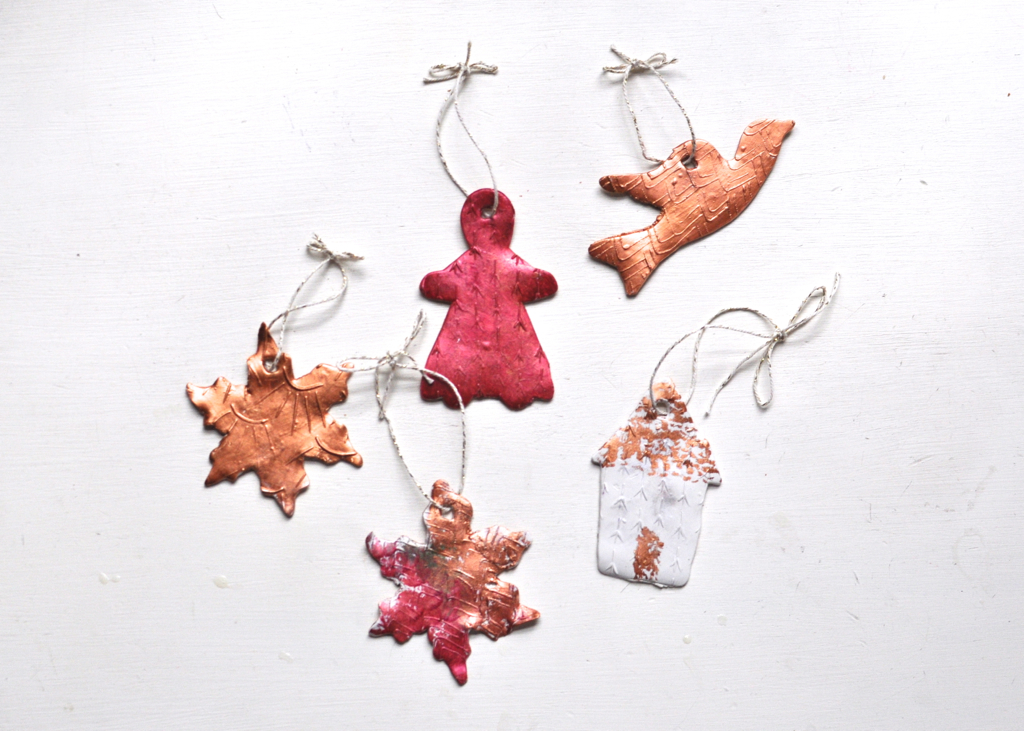
Shiny and fancy indeed! Such a fun way to spend some time with your boys while making for others. I always love seeing what projects you all are doing and I must admit I always feeling a leaning toward having my own brood of three when I look through your photos…even though we aren’t even to two just yet.
Merry Christmas and Happy Holidays all around to you and your family.
What beautiful ornaments! Merry Christmas, Lauren. I love you!
Merry Christmas to you too! Love and miss you, Aunt Barb!