
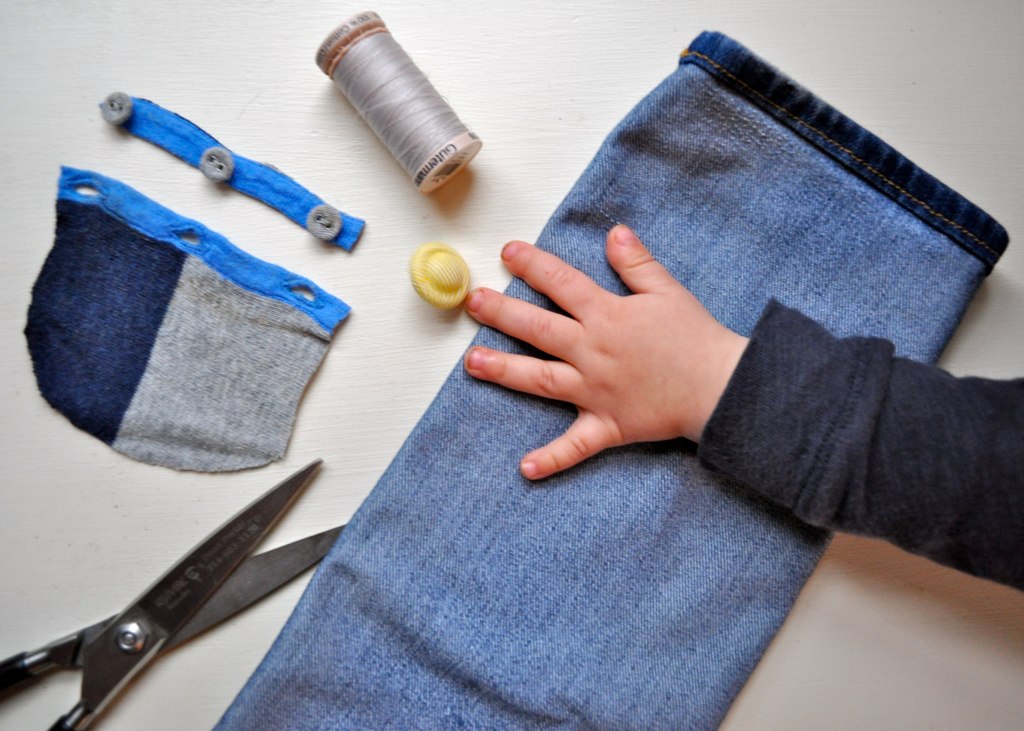
A little while back, as freezing rain sleeted down onto a skylight in our bedroom, I cut the legs off of one of my favorite pairs of jeans which had procured a nasty rip in the knee (one which I kept sticking my toes through and ripping even further every time I put them on). As I dreamt of spring and shorts/skirt weather, I cut and cut until the jeans were knee-length shorts. Then I looked in the mirror at my pasty white legs, took them off, folded them neatly, and put them at the bottom of the pile of cut-off shorts (now totaling three) I have collected.
But before I could toss the pant legs into the trash, my hand brushed up against one and I was struck by how soft it was. After three years of washing and wearing, those pants had become like an old tee shirt. I knew I couldn’t throw them away without at least trying to reuse them. And immediately, I knew: I would make little guys for my little guys.
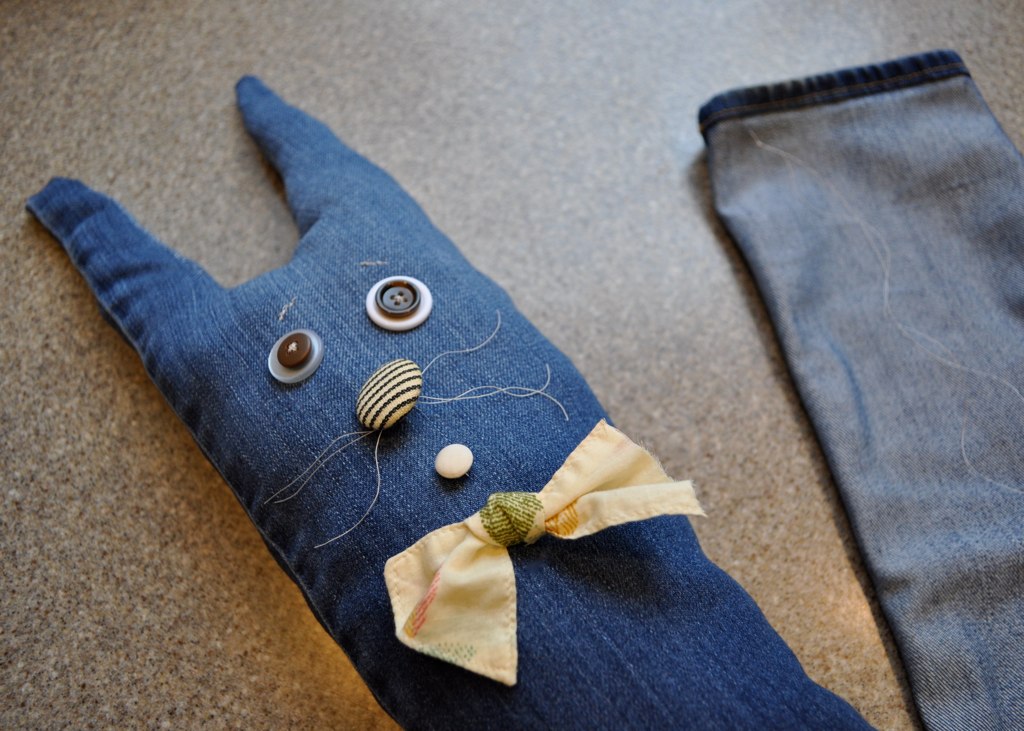
I stayed up a little later than expected, sitting in bed under warm blankets listening to a radio show about the immigration debate as I cut and stitched one pant leg into a rabbit. First, I cut out rough shapes of the ears, then turned the pant leg inside out and hand-stitched the ears shut (I don’t own a sewing machine… yet).
Next, I flipped him back right side-out, and sewed on the buttons for eyes, a nose (and tied extra thread around the nose button for his whiskers), and a mouth. I stitched eyebrows for expression, then a bow-tie (made out of an old fabric belt).
I used the stuffing from an old misshapen pillow that I was going to get rid of soon (and saved the extra stuffing for a rainy day) and pushed the soft white stuffing into the rabbit’s ears, head, and body. Then I simply stitched him shut at the bottom, and voila! I love how he turned out!
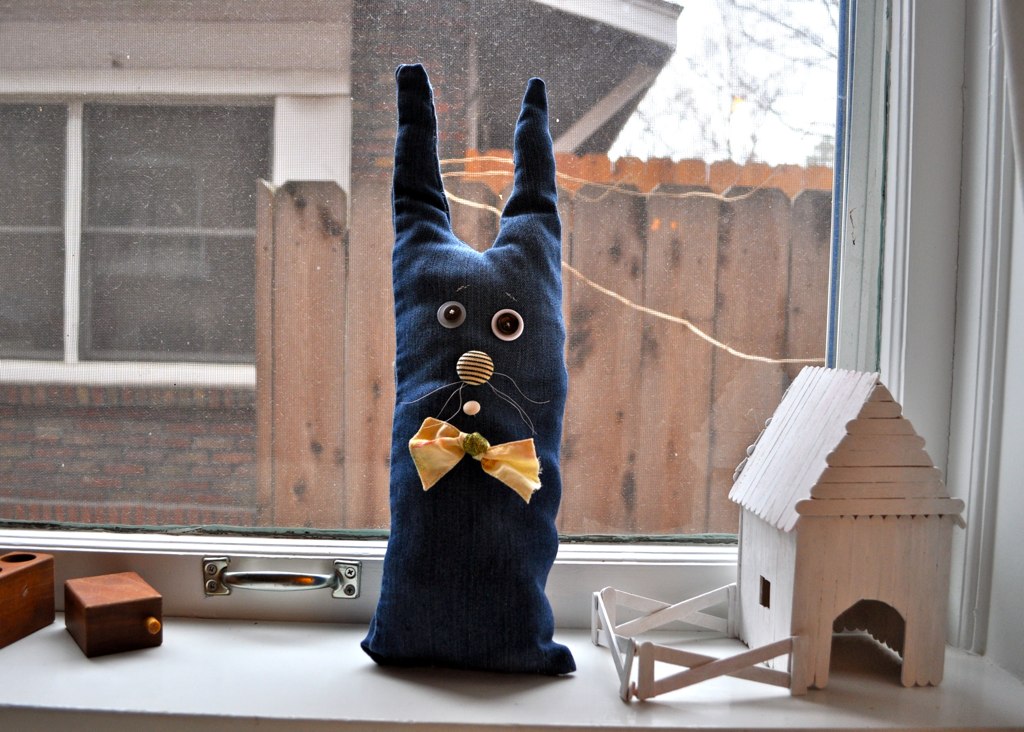
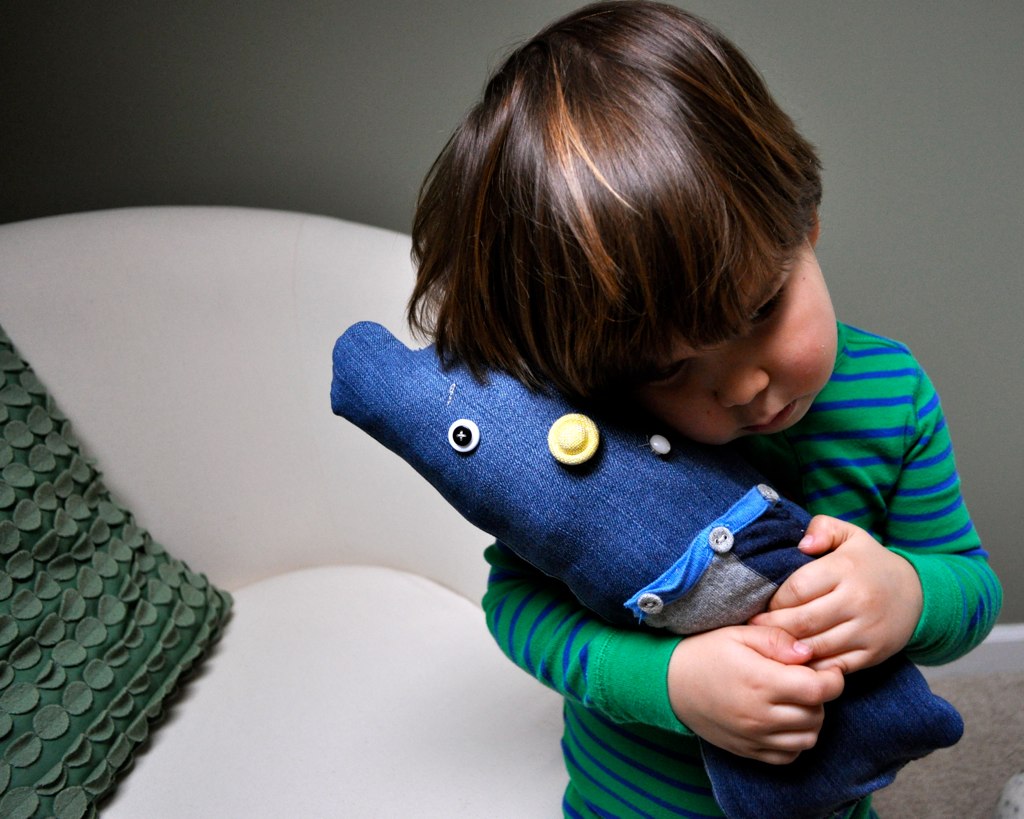
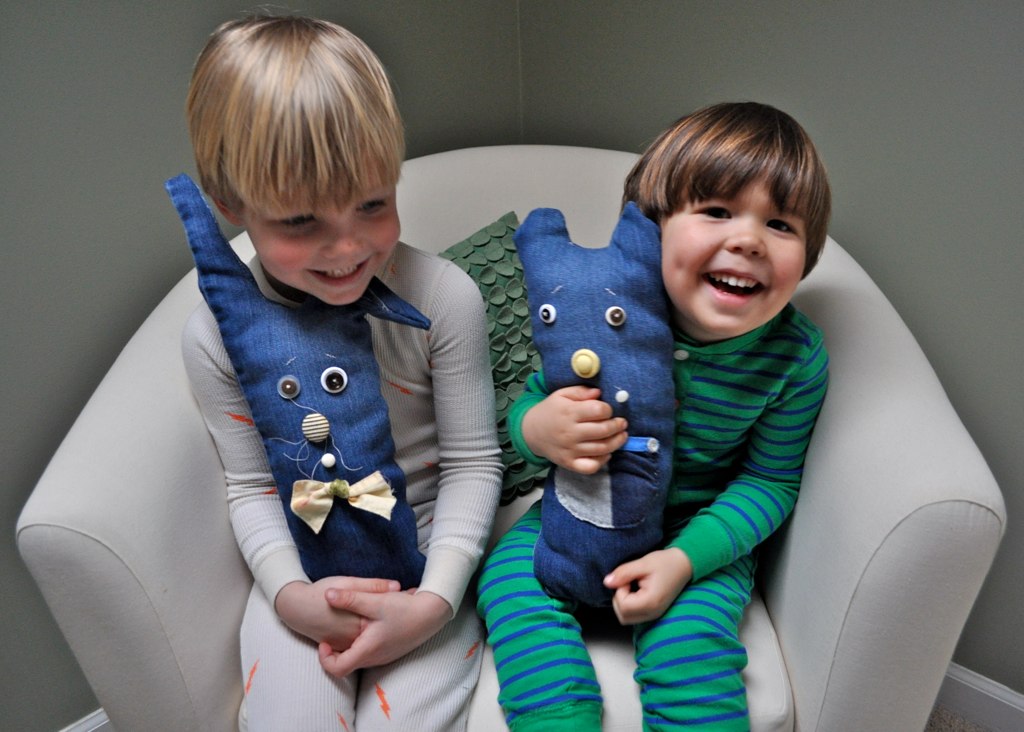
The next day, of course, I had to make the other pant leg into another little guy. I gave the bunny to Milo, who immediately named him “Funny Bunny,” and got started on a bear for Oliver:
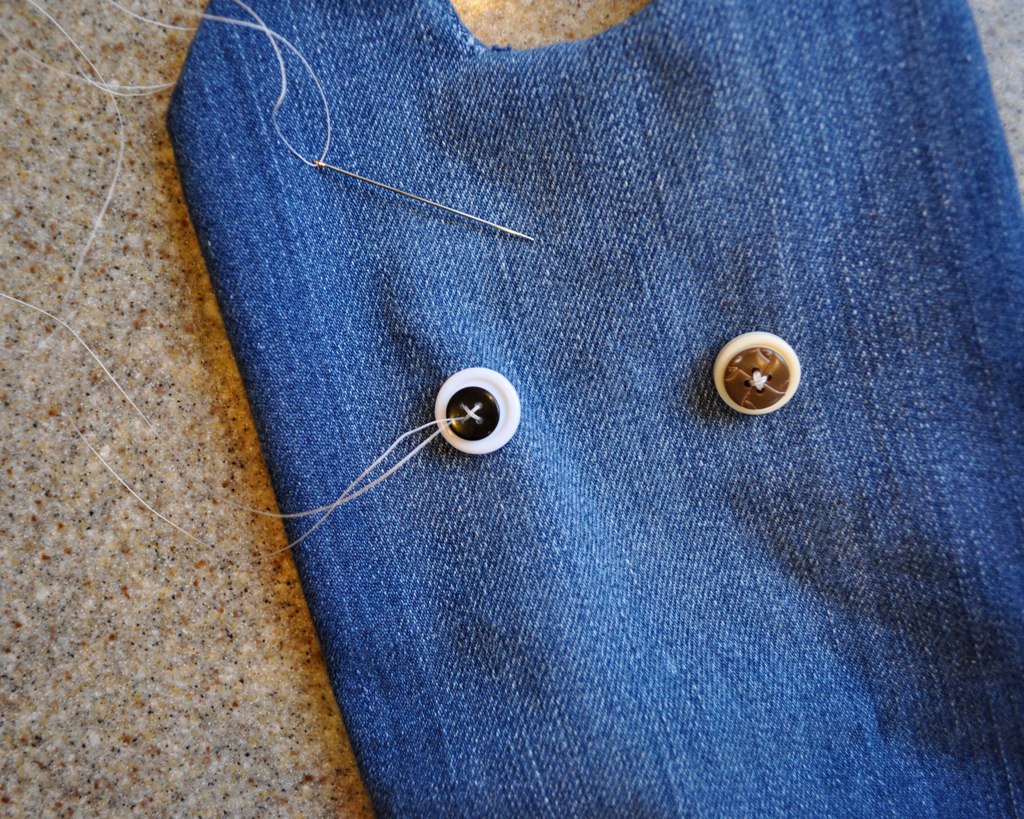
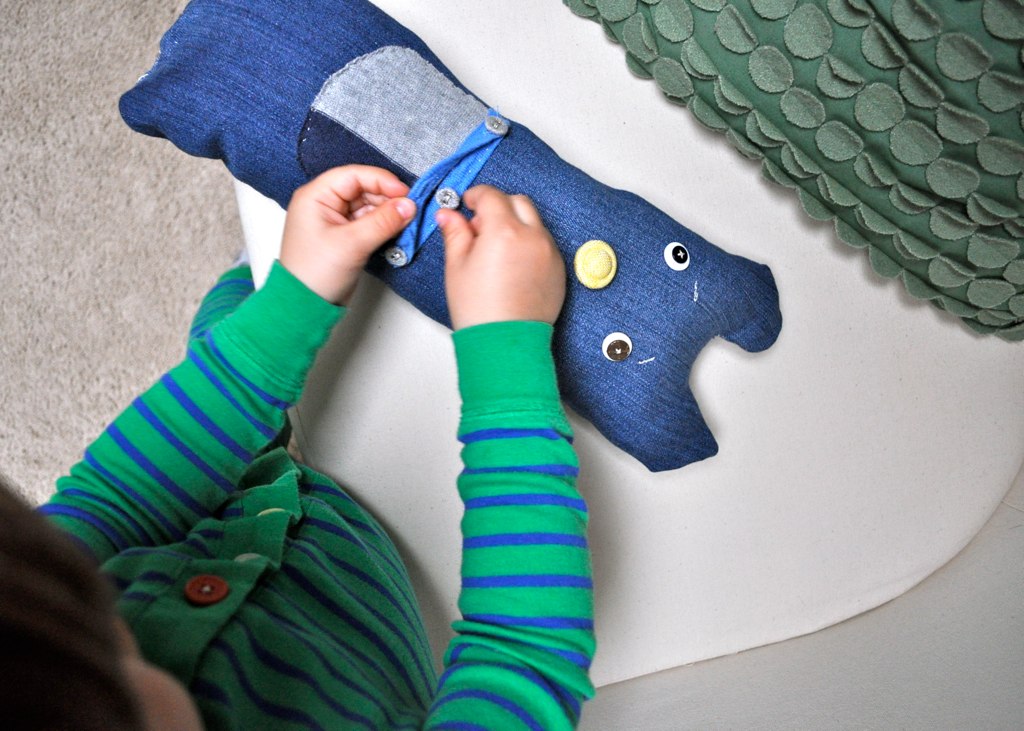
I followed the same technique, but wanted to add something special: a button pocket. I had a baby sweater which I adored but was totally ruined: stained and ripped beyond repair, so I took the henley neckline from it, turned it sideways, and cut it into a pocket shape.
I stitched the base part of the henley opening on first, being sure to secure each button to the denim extra-securely (knowing that it would be tugged and pulled extra when opened and closed repeatedly): 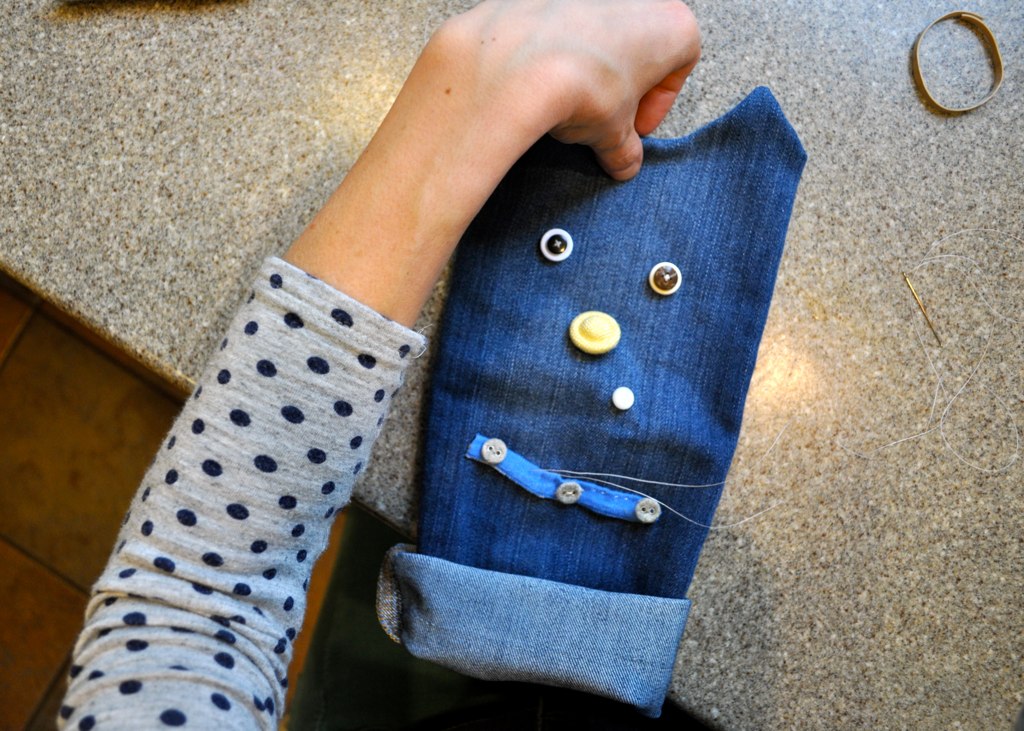
I then put the top part on (the pocket-shaped cut-out I had cut from the top of the sweater), buttoning it to make sure it lined up after stitching it closed. Of course, I only sewed the bottom and sides, not the top!
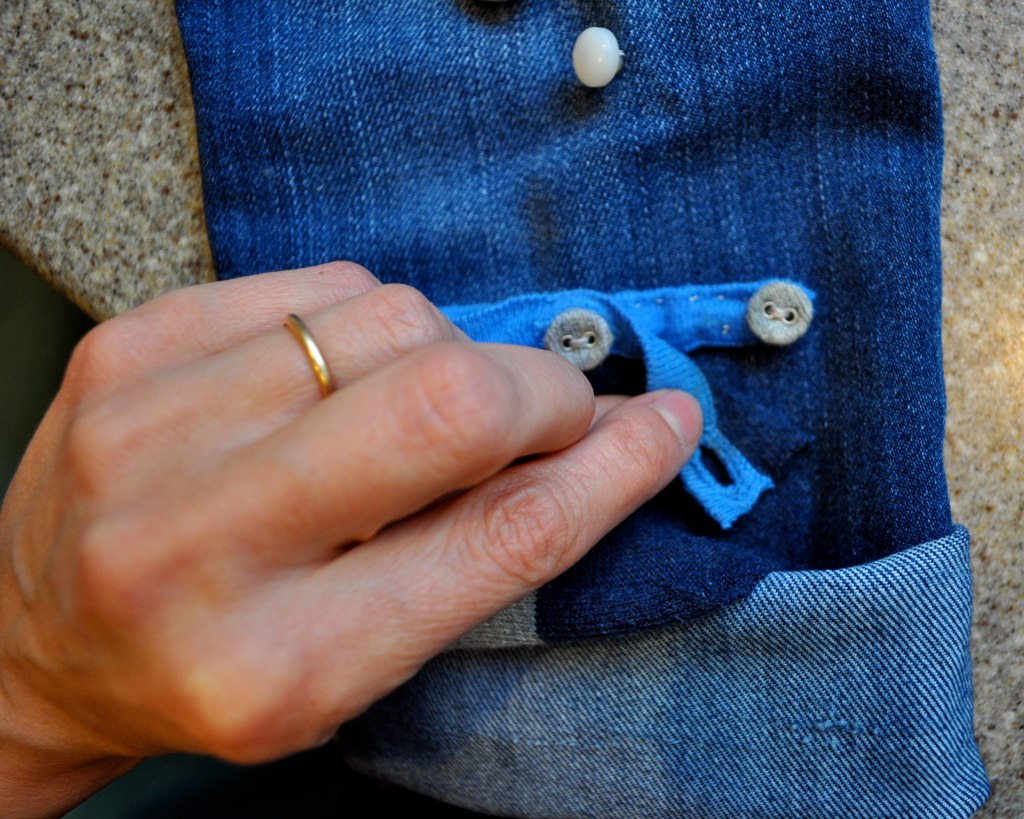
I was a little nervous to give him to Oliver with the button problem he’s been having, but the whole point was to give him something to practice on with no pressure of getting dressed (this way he could take his time!). It was a success immediately. Oliver was fascinated and the first thing he did (after hugging and kissing his little friend) was start on the buttoning and unbuttoning: 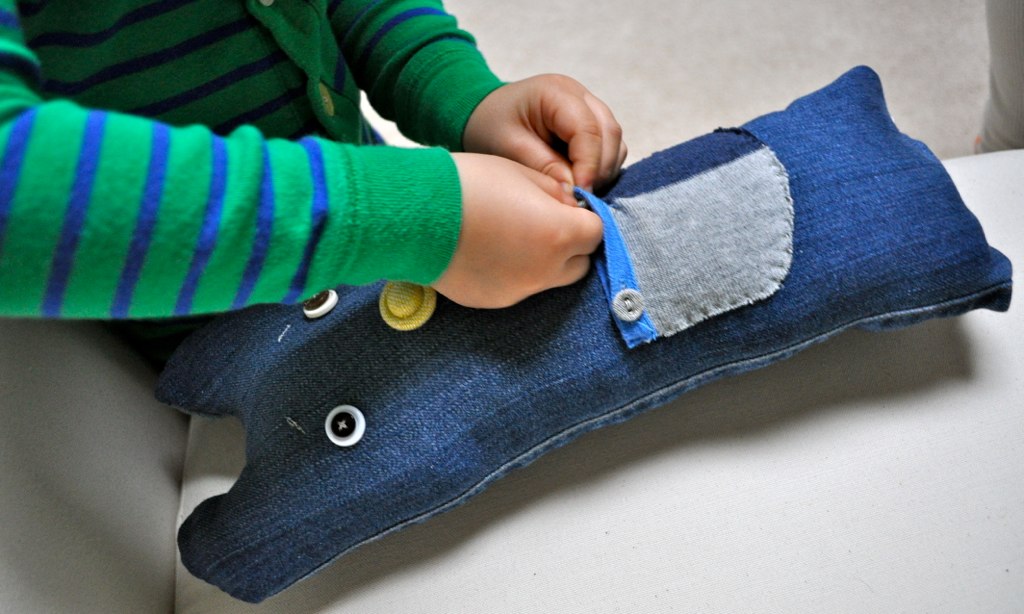
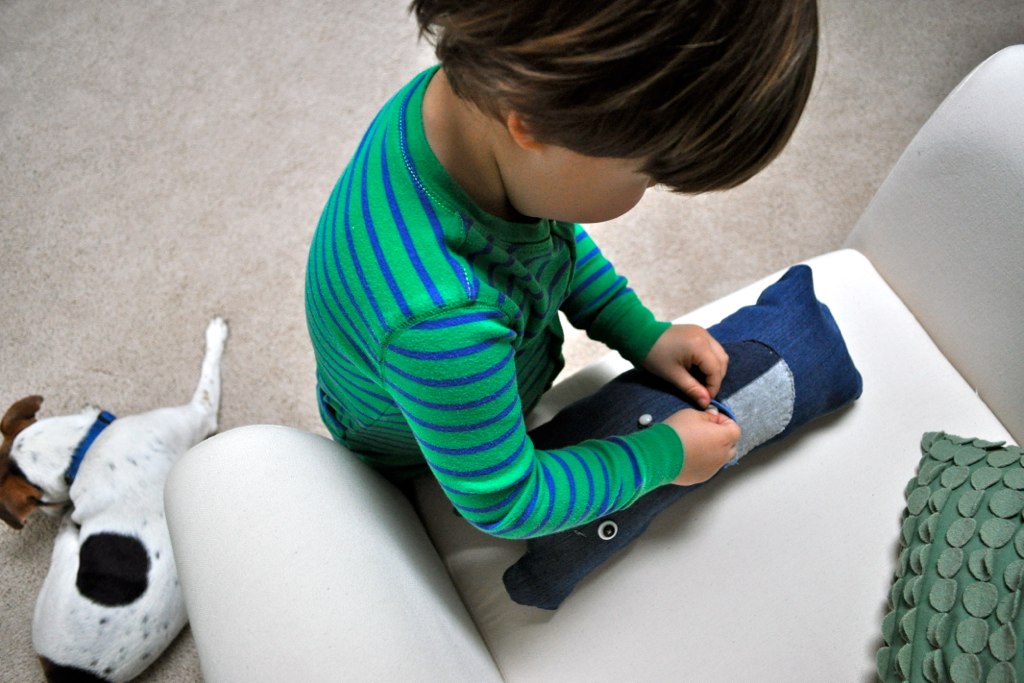
… And what d’ya know? He got it!
Not sure how long these guys will last, but they only took a couple of hours to make (hours that I enjoyed!) so I won’t be heartbroken if they get roughed up anytime soon. Plus, my handiwork was sooooo bad! I mean, you should see the bottom of these things. Not pretty. But I don’t think they mind…
Those are so sweet, I love their funny faces. In the photo of both boys in the chair I’m picturing you standing there, jeans intact, and them hugging your legs! What a great use of otherwise junked stuff.
What an amazing thing to give your boys, first, the gift of a toy each and then the gift of having such a clever mummy and seeing that you can do whatever you set your mind to. I am impressed with the hand-sewing skills xxx
These little guys are adorable! No wonder your kids love them. And recycling them from old jeans is just the icing on the cake…
I think they look great and I love how you used the henley neckline….so smart! I’ve been wanting to try my hand at some homemade stuffies but I feel like sewing comes sooooo slooooowly to me. I’m always so impressed with handmade dolls!
Dood! These look great! So creative and such a great use of old clothes. And give yourself more credit – sewing by hand is difficult and time consuming. It’s really tricky to get straight lines, and if you hadn’t said they were hand sewn, I would have totally thought they were done on a machine. They look great.
Those are so sweet! I really admire how you throw yourself into things, crafts for the boys, cooking, you make it all seem so easy and fun, instead of any sort of struggle. I gotta say that you’re a great mom and even tho I don’t have kiddos myself, I still feel inspired. Keep it up! Happy February (so much better than January)
cutest thing i’ve seen in a while. and, even with my limited sewing abilities, these seem totally doable. pinning now!
Adorable (the boys and the stuffed toys)!
So special that you created them just for your loves. What a special mama you are 🙂
Those are perfect, so so cute. I do have a sewing machine but don’t know how to use it… yet. James loves to remind me of how I begged for it and never touched it, but I never find the time. Love this craftiness!
Come on? Are you real?? What a fantastic idea! I am going to try this with some left over material sitting around. And what a beautiful ‘mama’ you make — look at you in that white dress. Stunning!
I love these denim cuddlies! I am so inspired to make some now since I totally do the same thing as you – I’m a compulsive jeans cutter. Haha! I’m glad you did this all free-hand because I don’t sew (although I have a BRAND new machine gathering dust in the garage…..I have major guilt about it). One day I’ll learn how to sew!
xo
cortnie
What lucky boys!
This is so sweet and the kids love it. Great DIY.
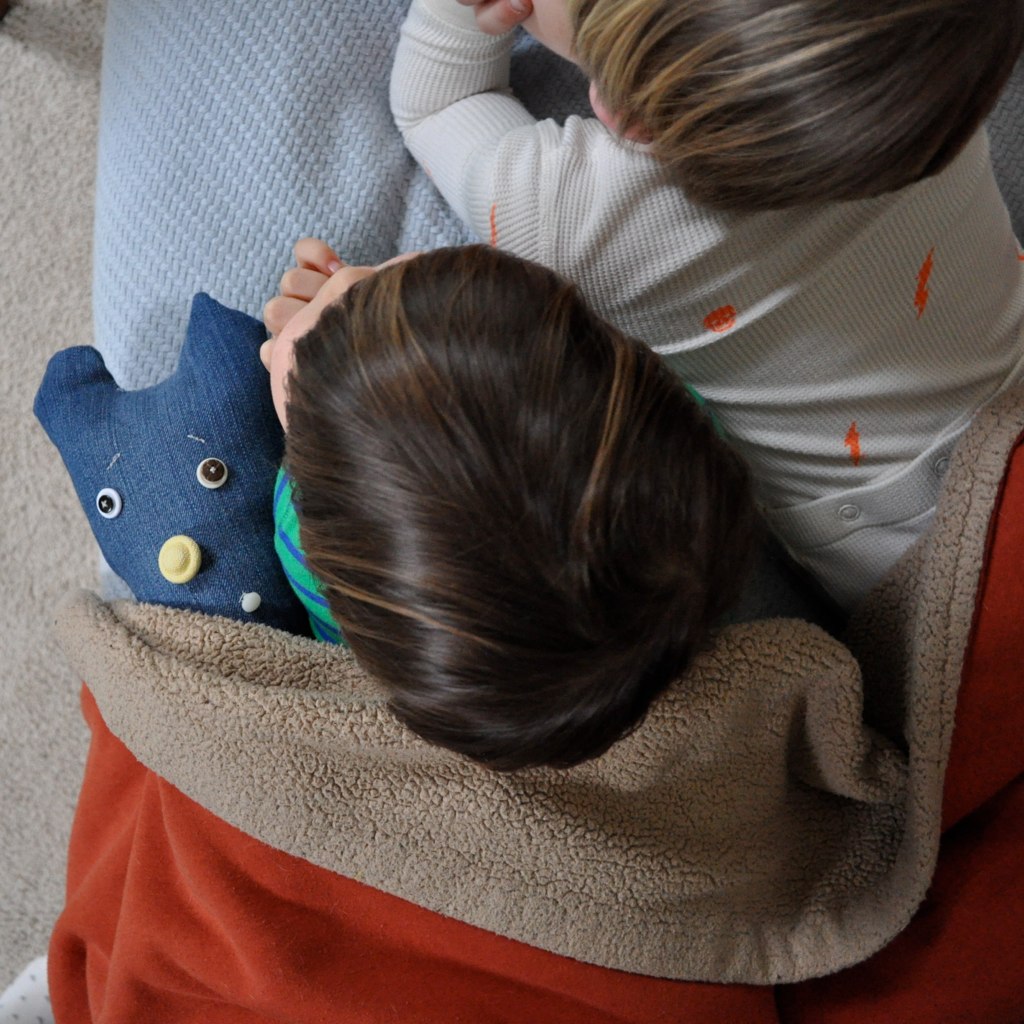
Brilliant! I love that you turned the project into a way to help Oliver overcome something he was struggling with. And that first photograph of him hugging his little bear is so incredibly sweet.
Adorable. Great idea!